The new RUCKUS Cloud by CommScope product now manages Wi-Fi access points, ICX switches and includes long-term reporting as well as ML/AI. Use this mobile app to manage your converged wired and wireless network from your mobile device
Launch the CommScope RUCKUS Cloud App from your mobile phone.
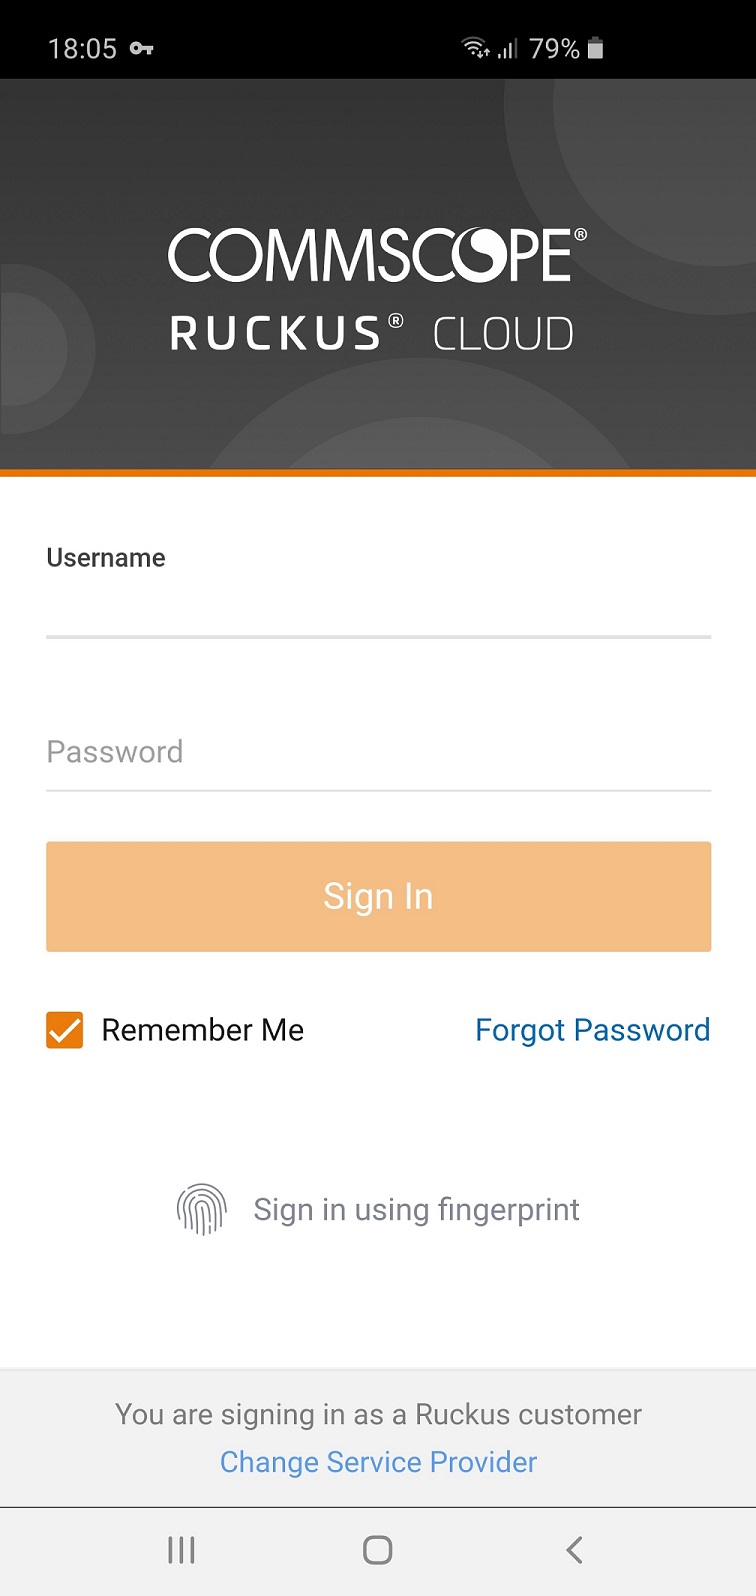
RUCKUS Cloud Mobile App Login Page
Enter a valid username and password and tap
Sign In. Optionally, you can check the
Remember Me to save your password. Use the
Forgot Password option to reset your password. After the first successful login, you can use the
Sign in using finger print option.
Note: If you want to log in as a non RUCKUS customer, tap
Change Service Provider. Enter your service provider's name and continue.
Chose a region:
US,Europe, or
Asia.
Accept the end-user
Terms and Conditions.
Review your dashboard. The dashboard displays
Alarms,
Venues,
APs,
Switches, Wi-FI Clients,
Switch Clients,
Networks,
Wi-Fi Traffic, and so on.
Ruckus Cloud Mobile App Dashboard
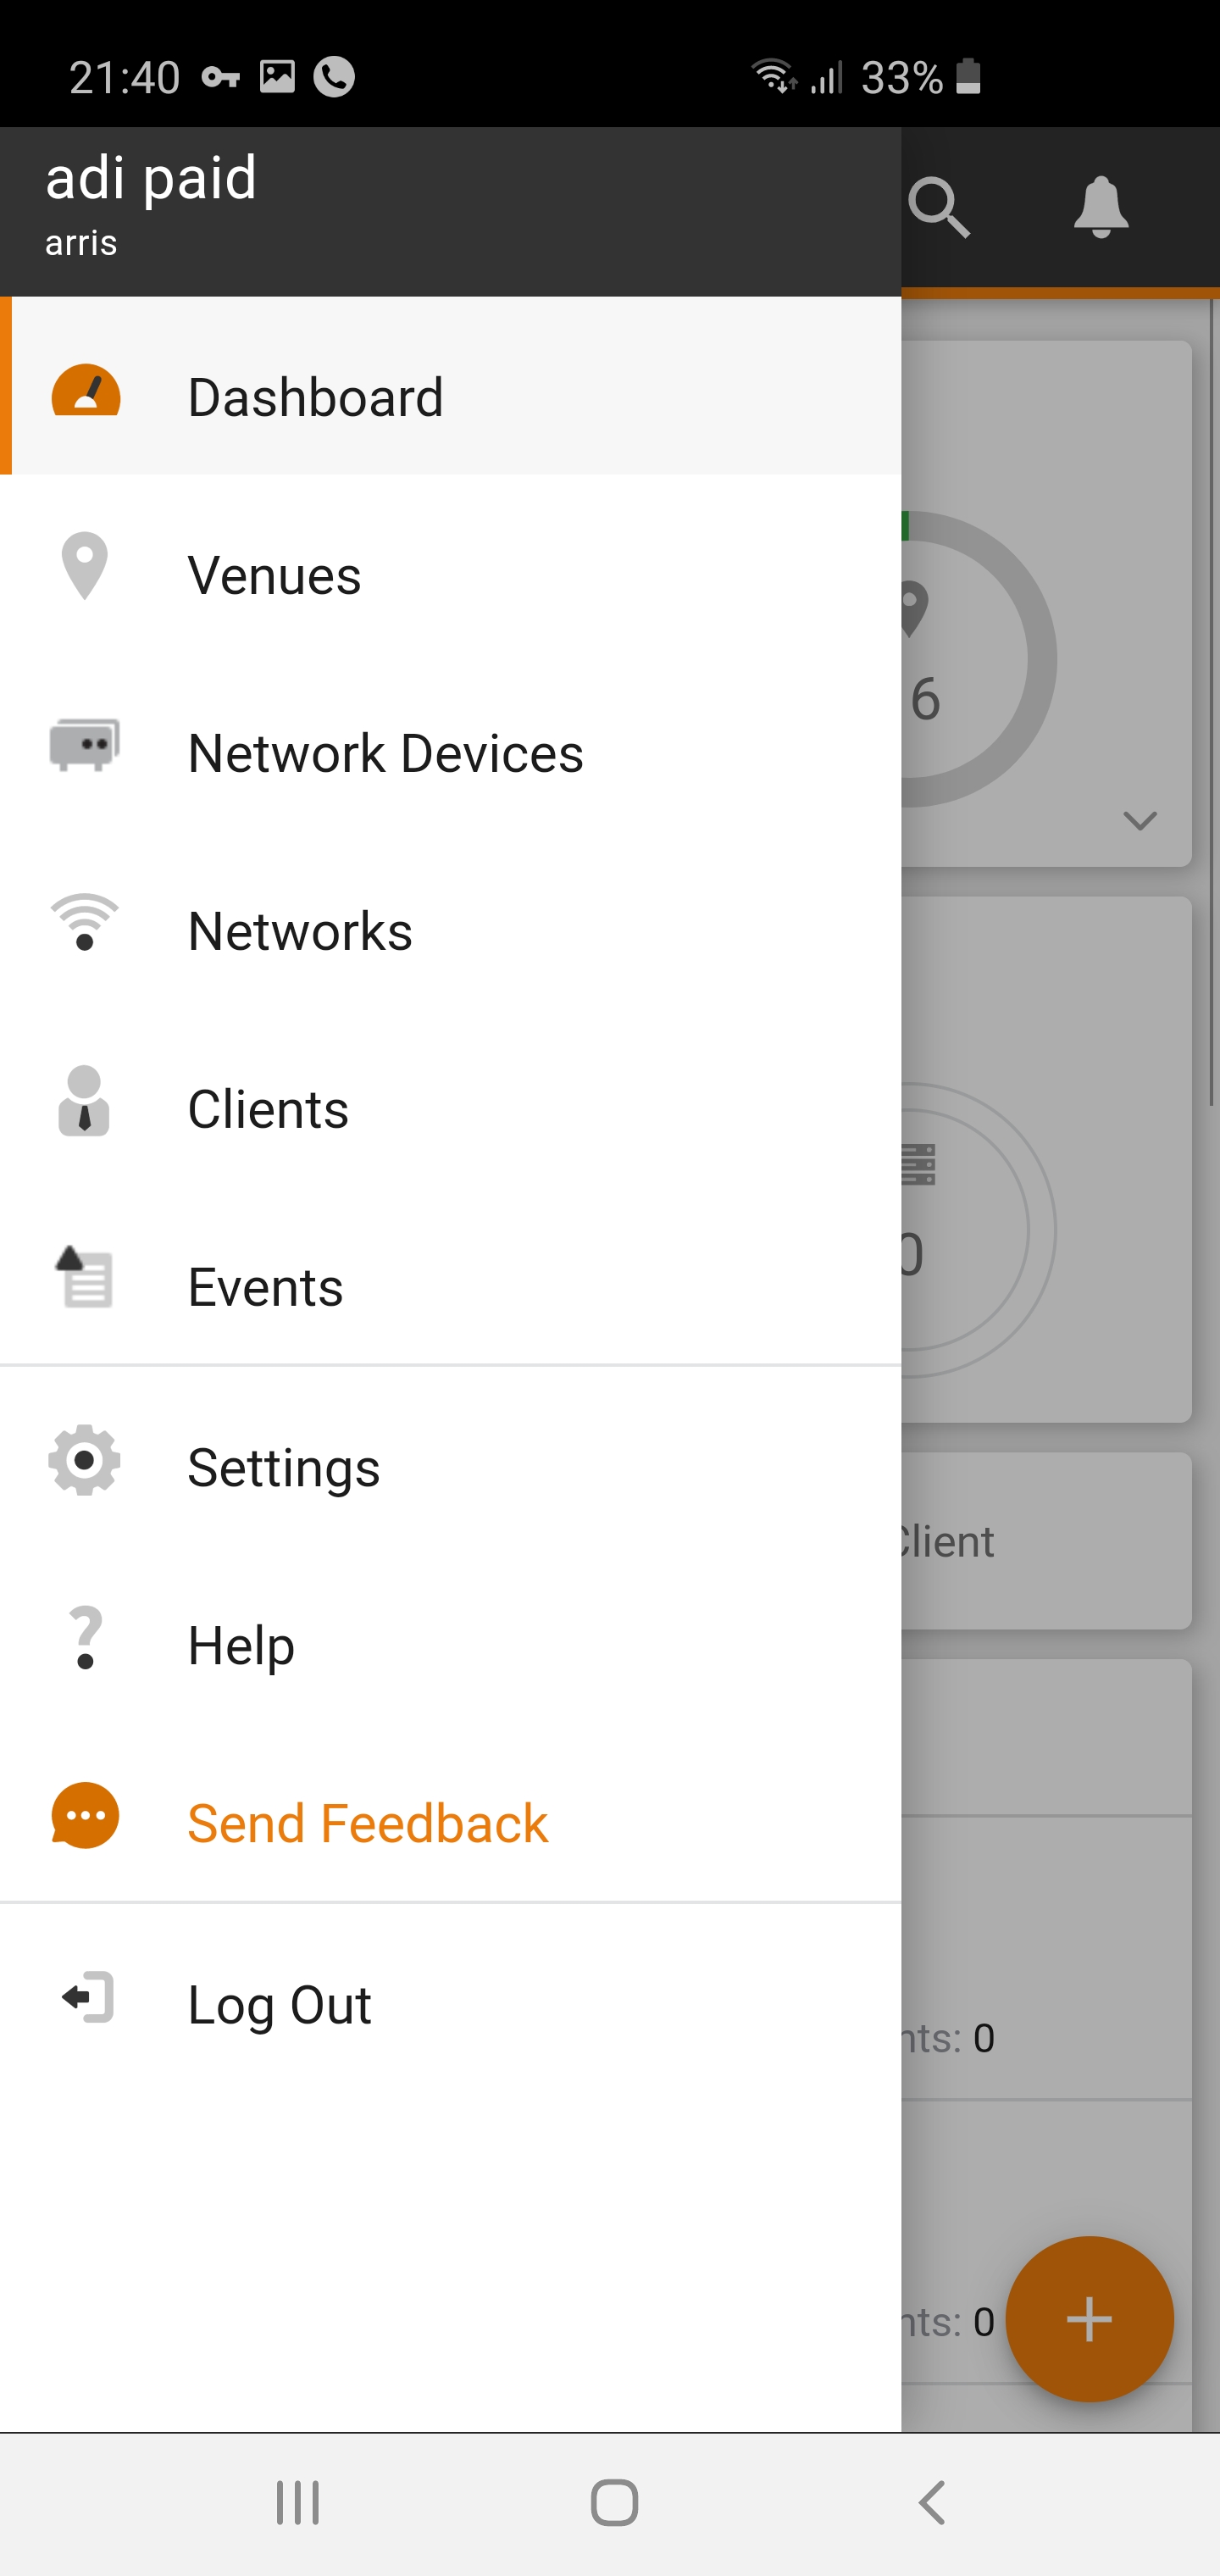
On the top-left corner, tap the hamburger menu to display the navigation menu.
Ruckus Cloud Navigation Menu
Dashboard: Tap on to view the dashboard.
Venues: Tap on to view venues and the networks, APs, clients, switches associated with the venue.
Networking Devices: Tap on to view APs and switches.
Networks:Tap on to view networks.
Clients: Tap on to view AP and switch clients.
Events: Tap on to view the AP and switch events.
Settings:Tap on to go to settings.
Help: Tap on for help .
Send Feedback: Tap on to send feedback.
Switch: Tap on to switch region.
Log Out: Tap on to log out.
Tap on the
Search (Magnifier icon) to search a networking device, network, venue, clients, and so on.
Tap on the
Alarm (Bell icon) to view the active alarms.
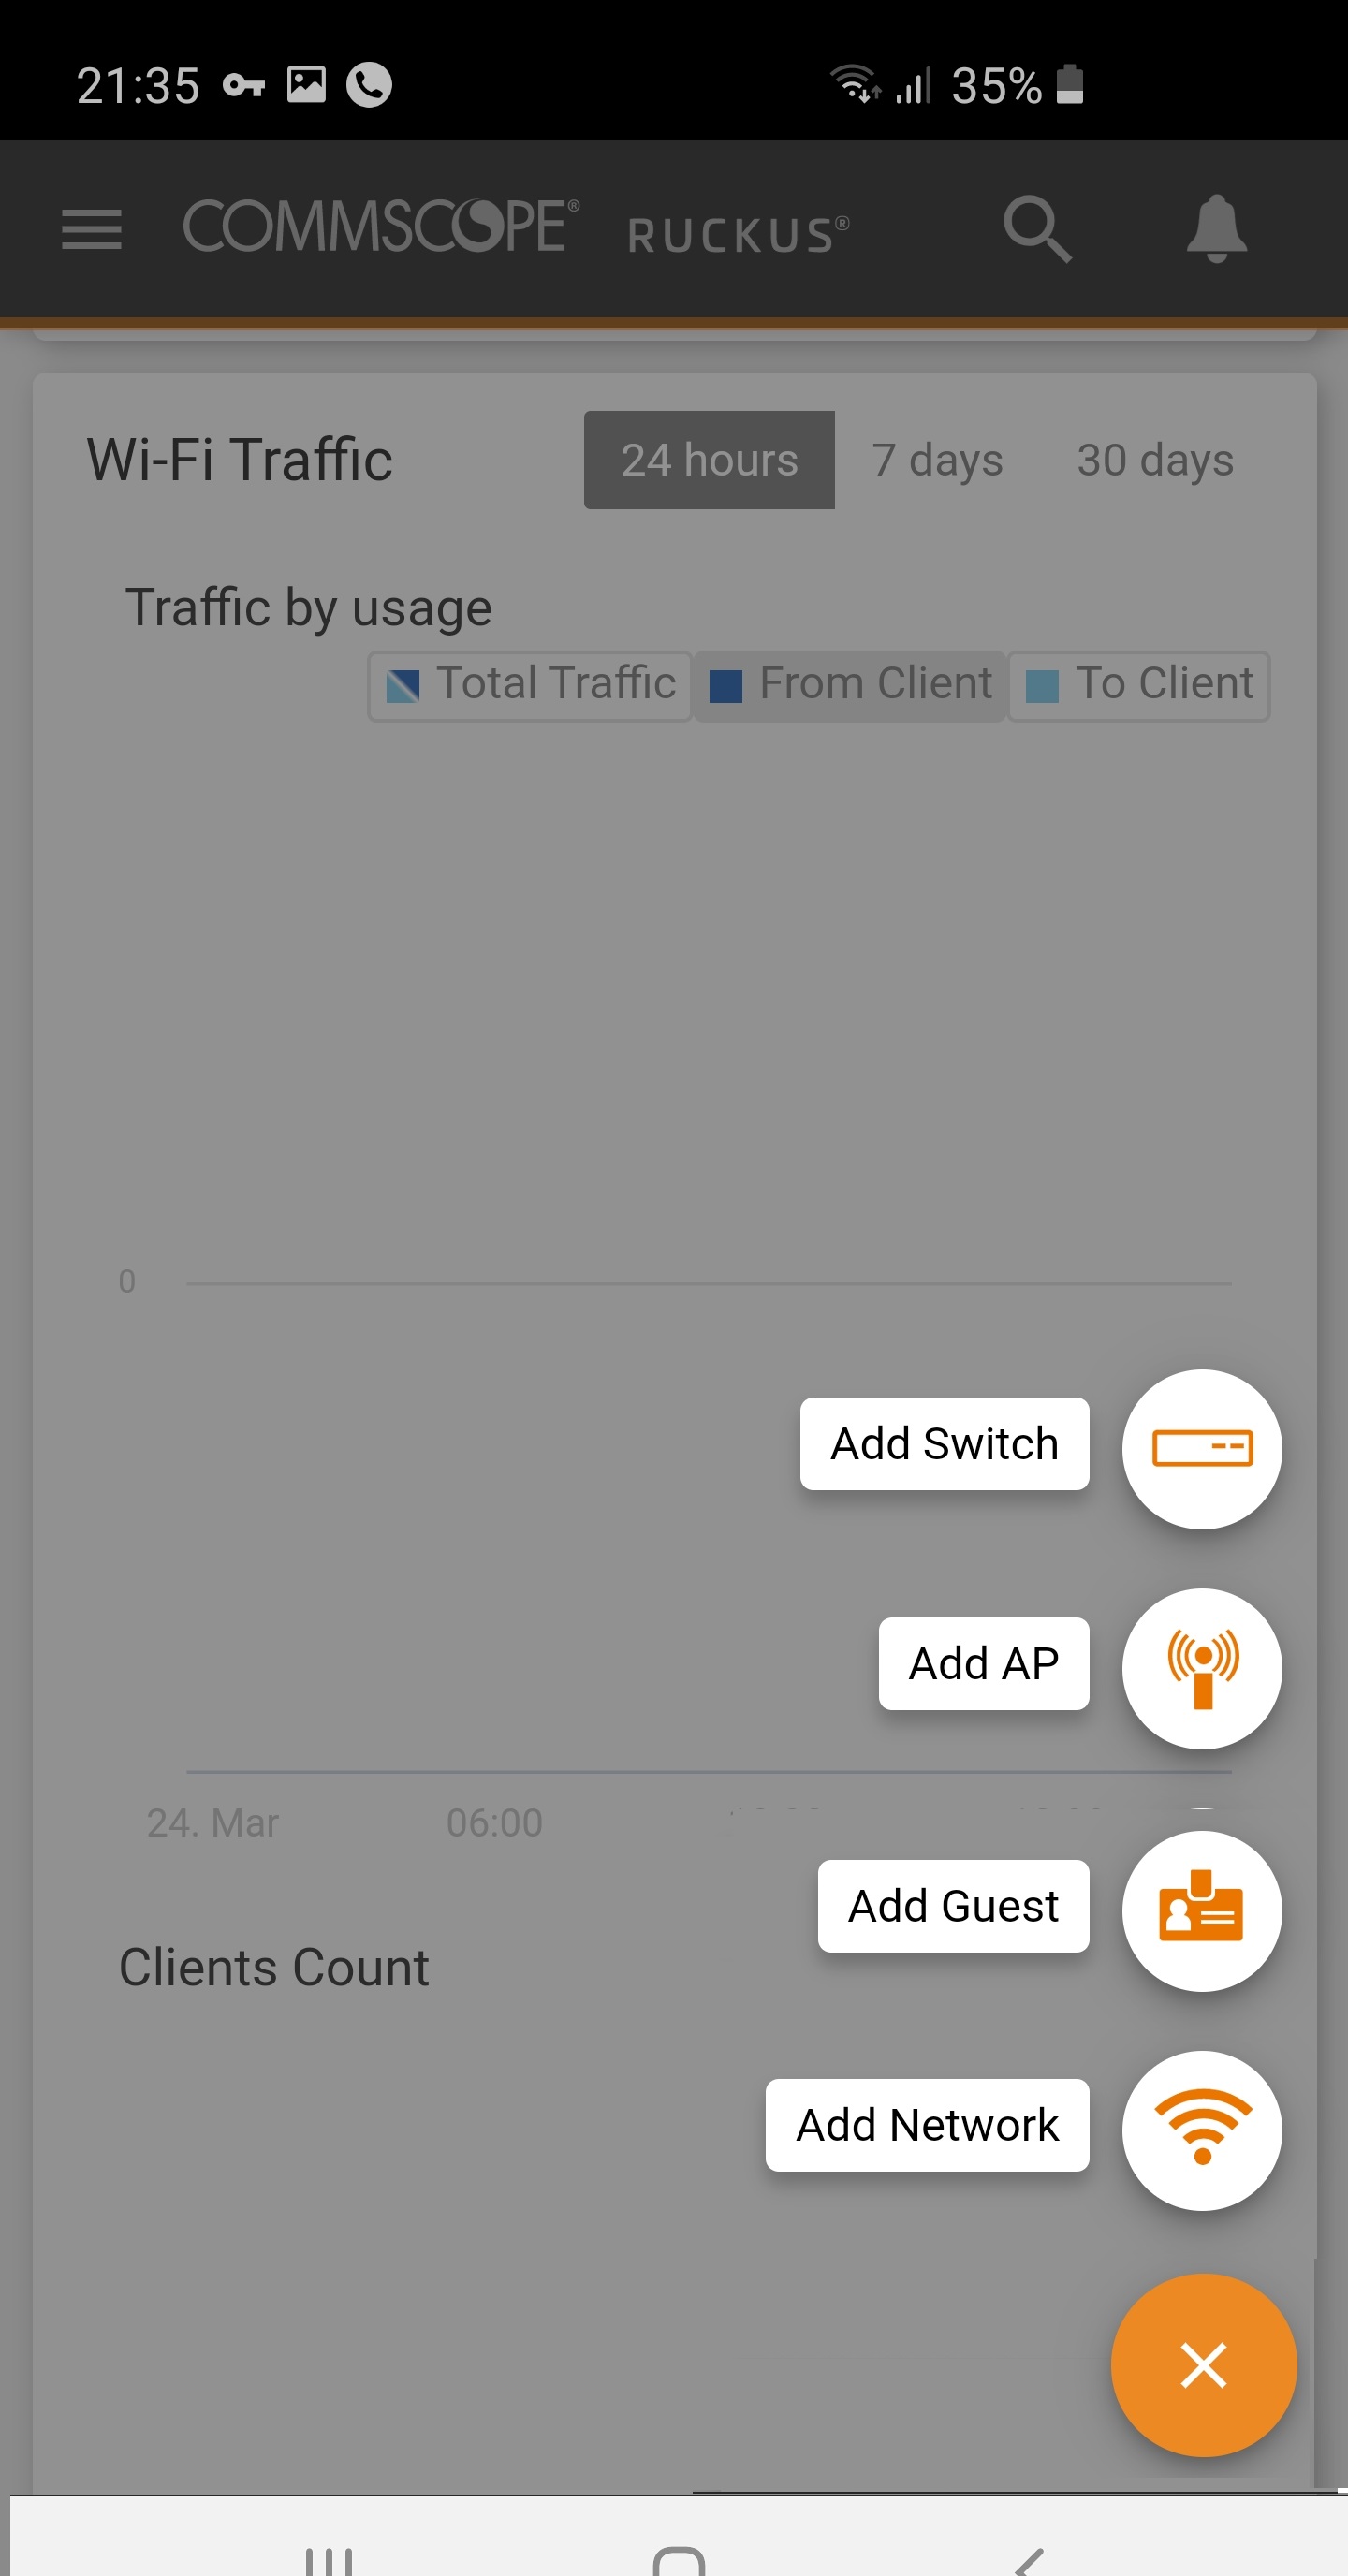
Tap on the
Add (+ icon) icon to o to view these options:
Add SwitchAdd AP,
Add DPSK User,
Add Guest,
Add Network
Adding an AP
From the dashboard, tap on
+ icon.
Adding an AP
Tap on the
Add AP.
Select a venue.
Enter the AP name.
Enter the serial number of the AP.
Add the AP description.
Add tags.
Tap on
Create.
Adding a Switch
From the dashboard, tap on
+ icon.
Tap on
Add Switch.
Select a venue.
Enter the serial number of the switch or tap on
Scan Serial Number.
Check
Standalone Switch
or
Member in stack.
Specify the switch name.
Tap on
Next.
Review the switch
Summary
page and tap on
Add Switch.
Adding a Network
From the dashboard, tap on
+ icon.
Tap on
Add Network.
Enter name of the network in the
Name
field.
Enter a different
SSID.
Add a description for the network.
Select a network type.
Tap on
Next.
Complete the onboarding details.
Select a venue.
Review the network information on the
Summary page.
Tap on
Create.
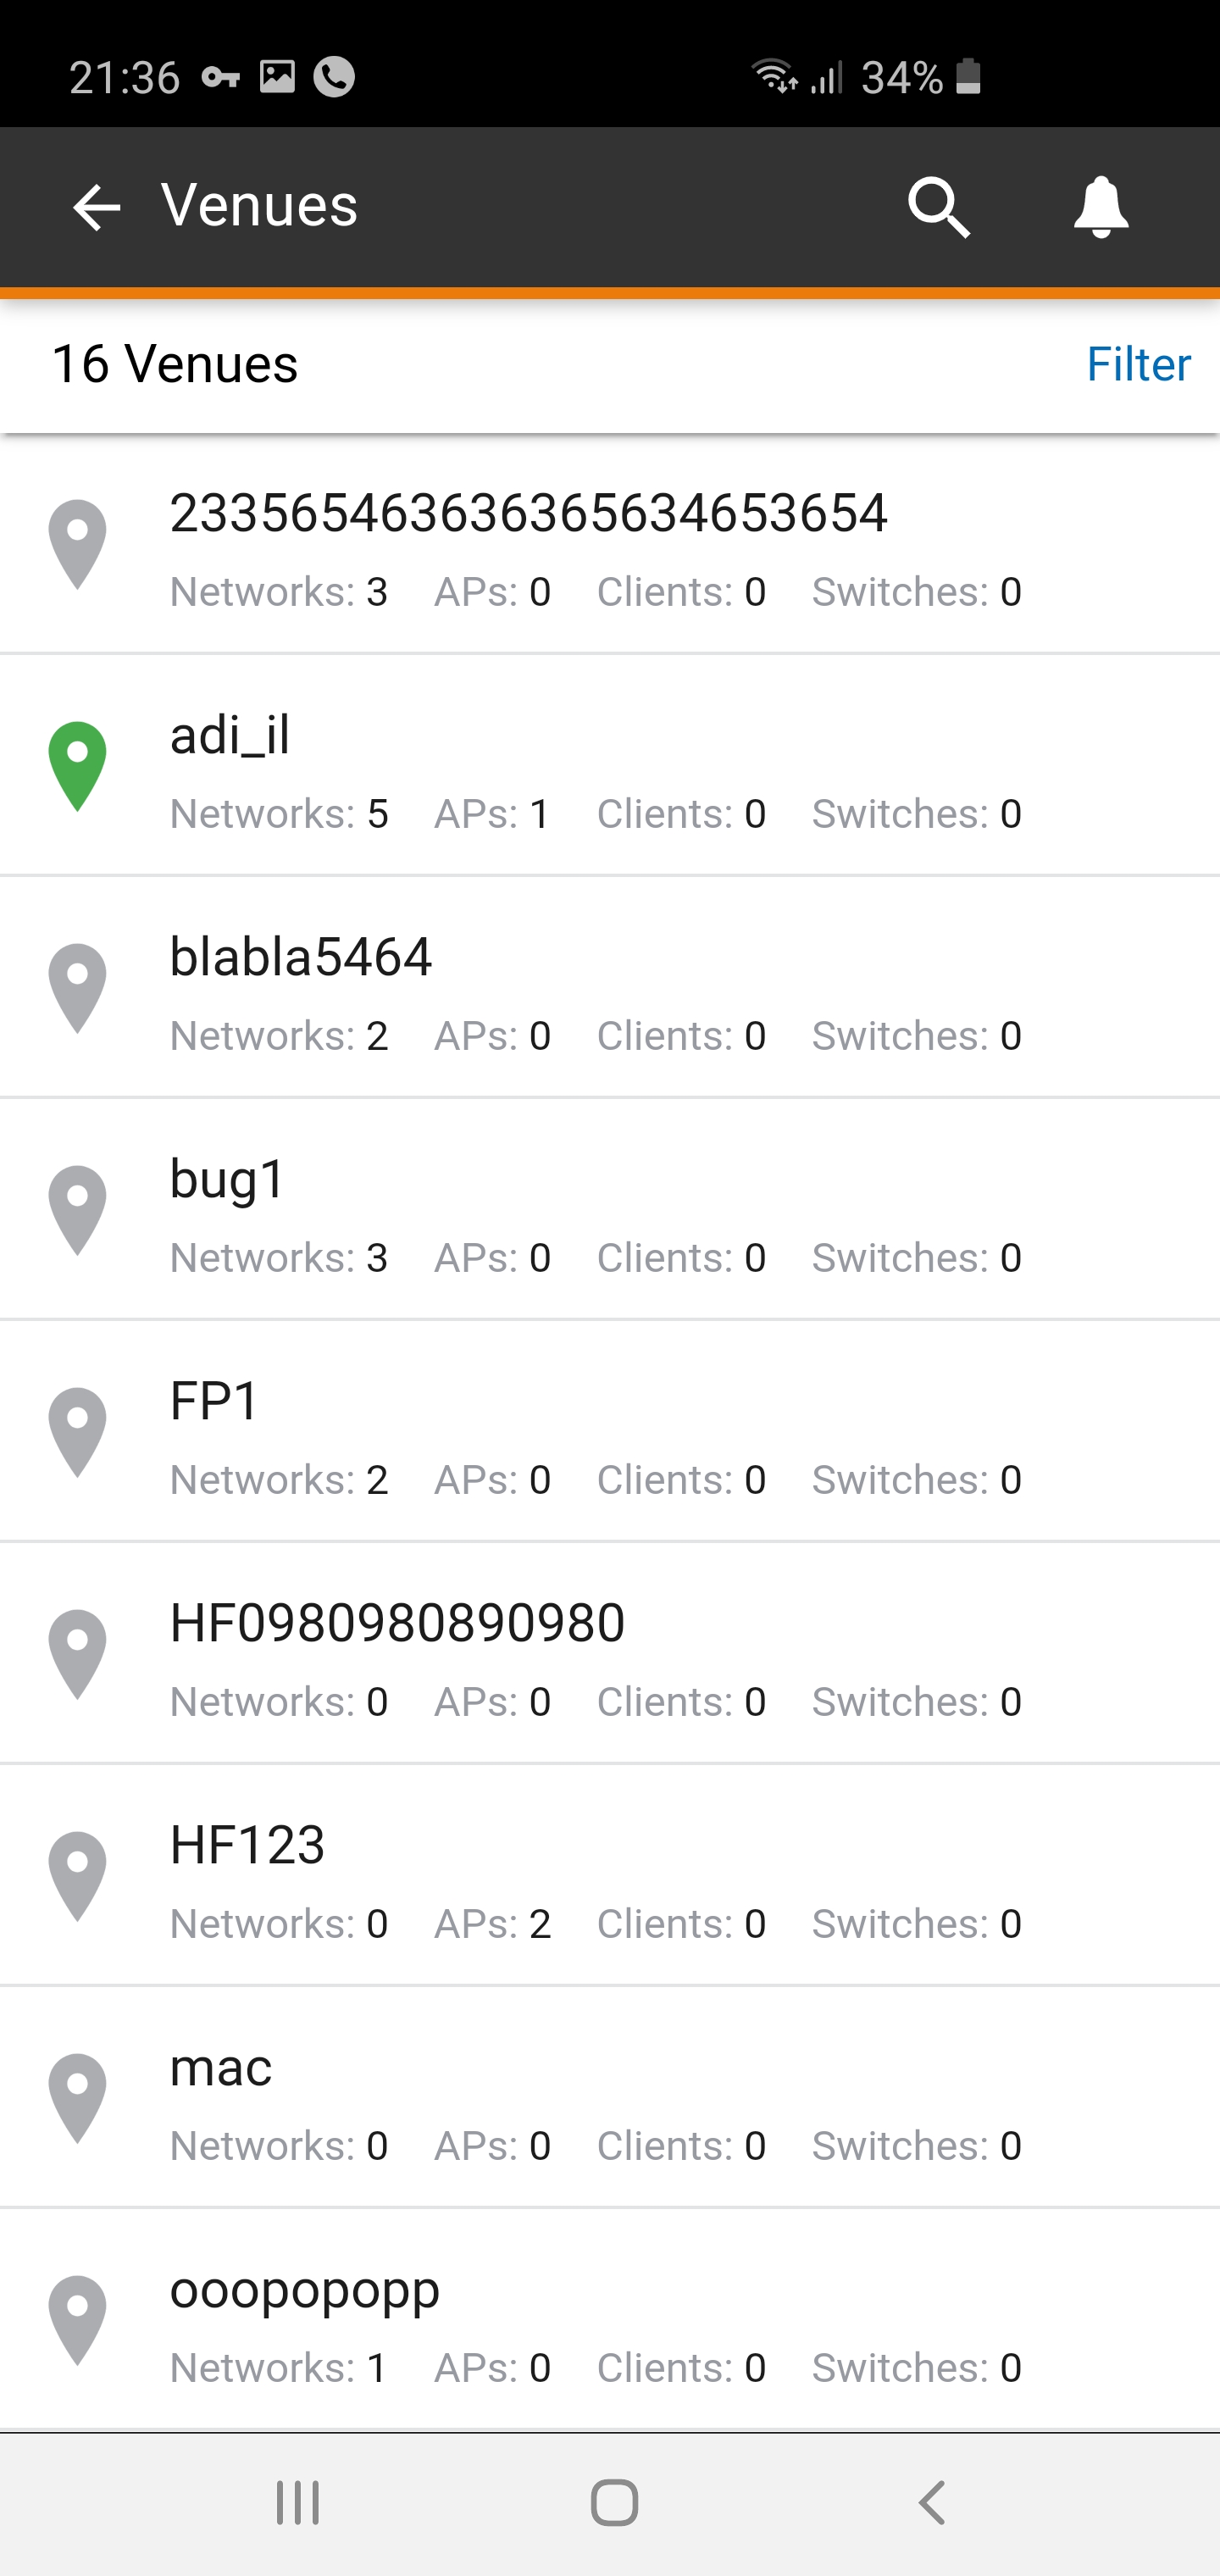
Viewing Venues
From the navigation menu, tap on
Networking Devices.
Viewing Venues
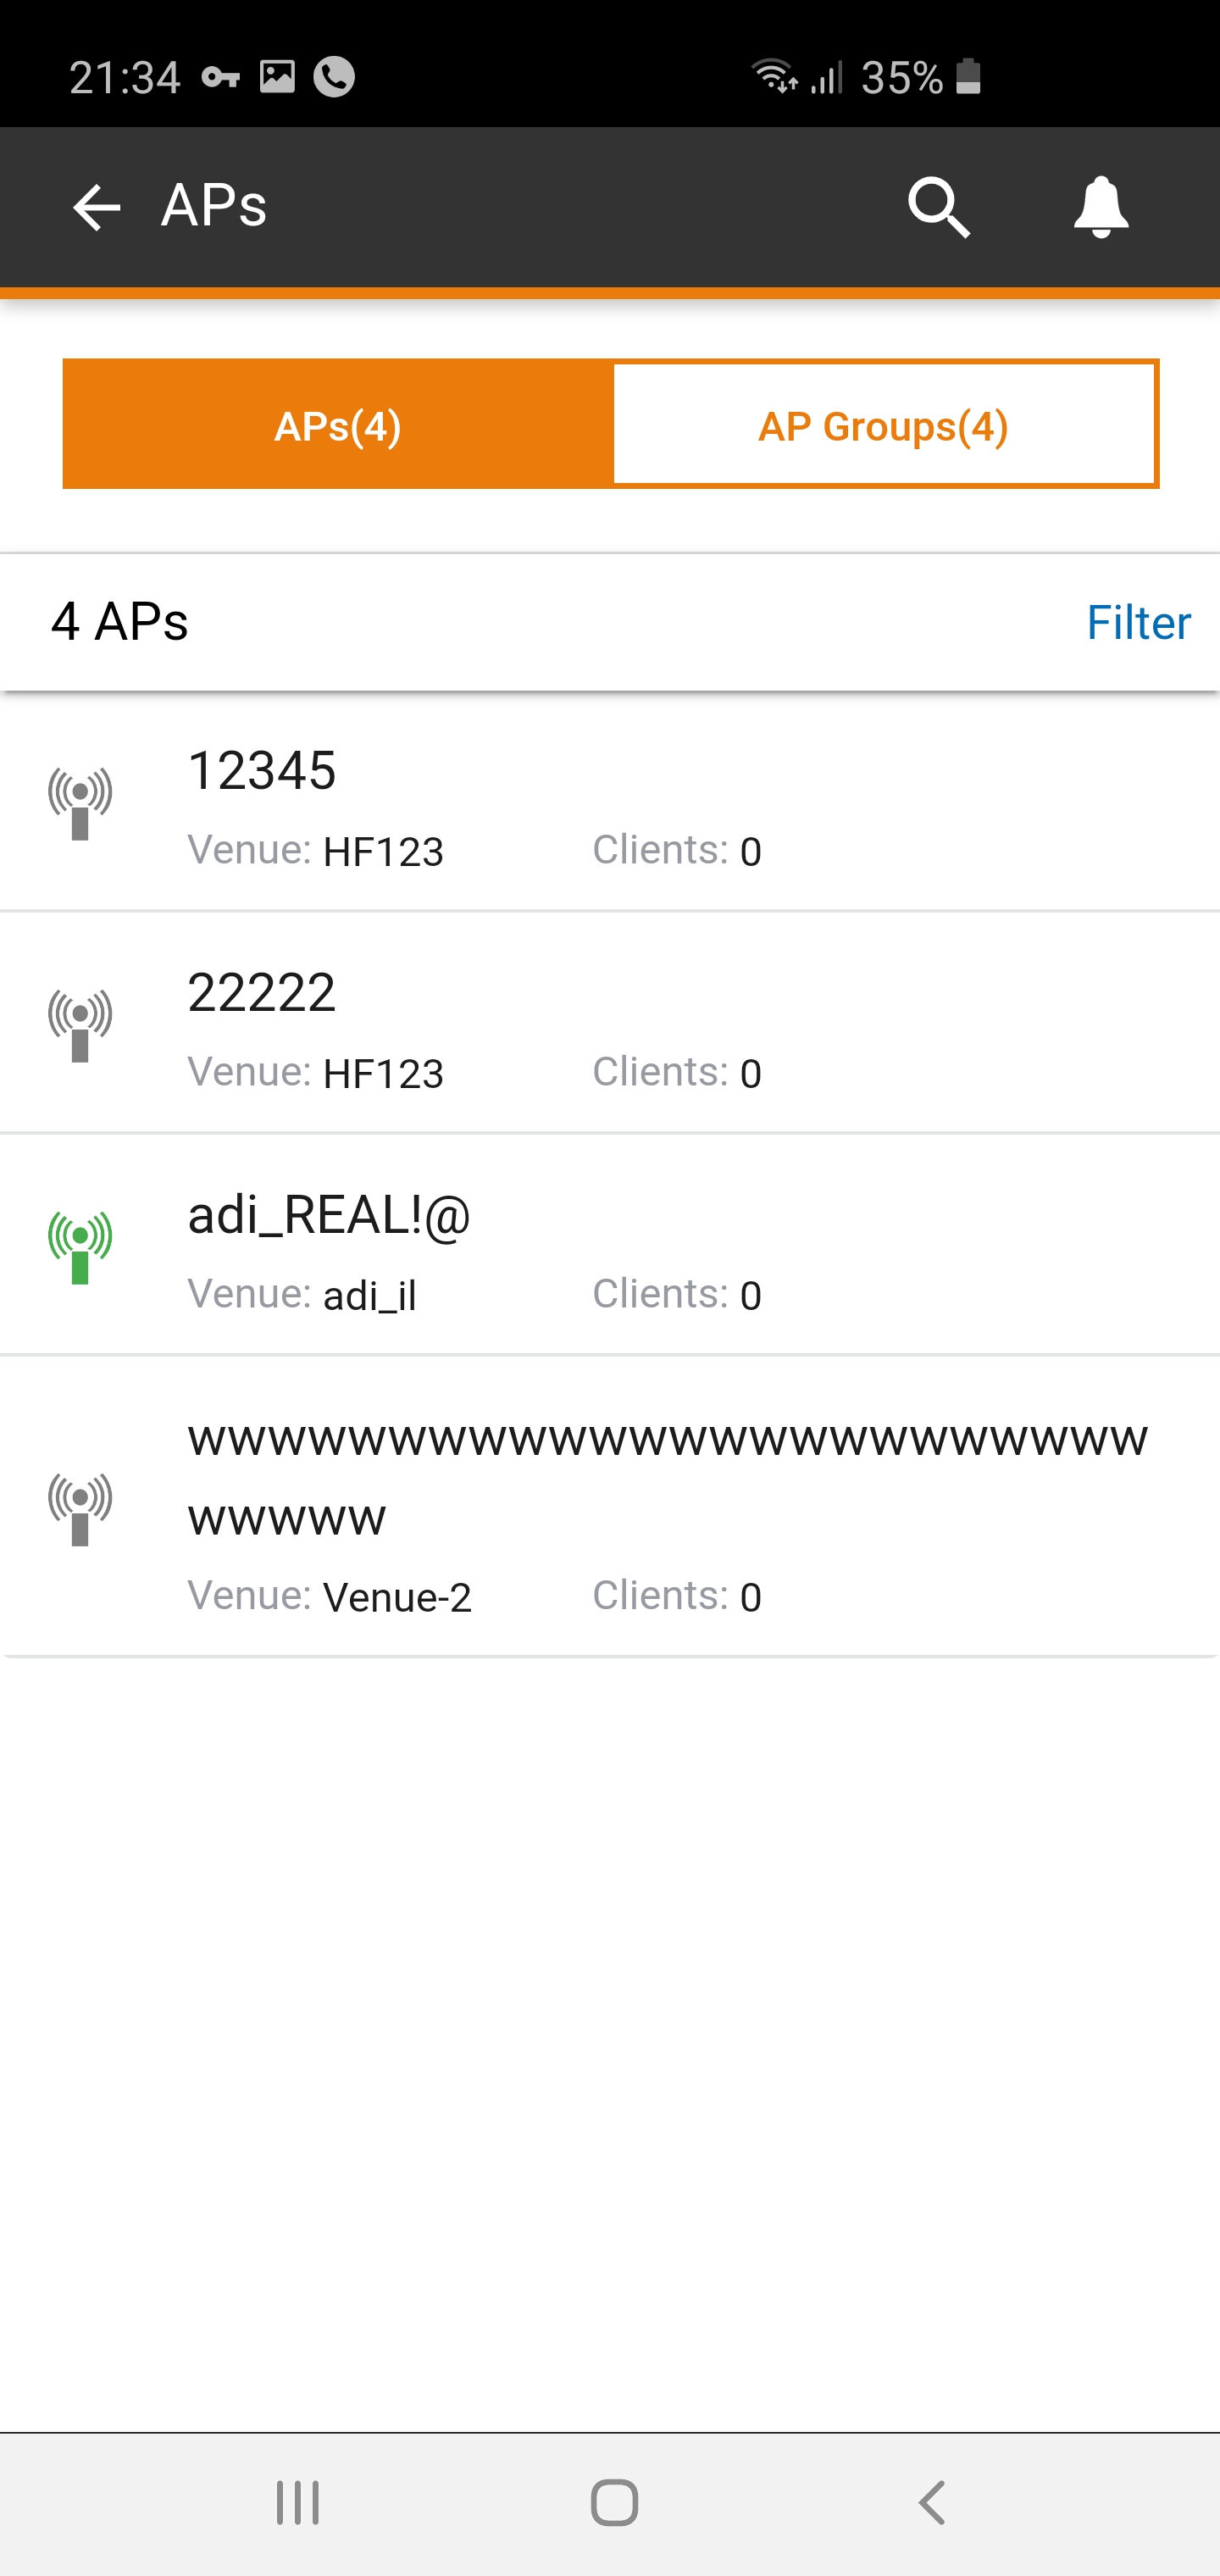
Viewing Network Devices
From the navigation menu, tap on
Networking Devices..
Viewing Networking Devices
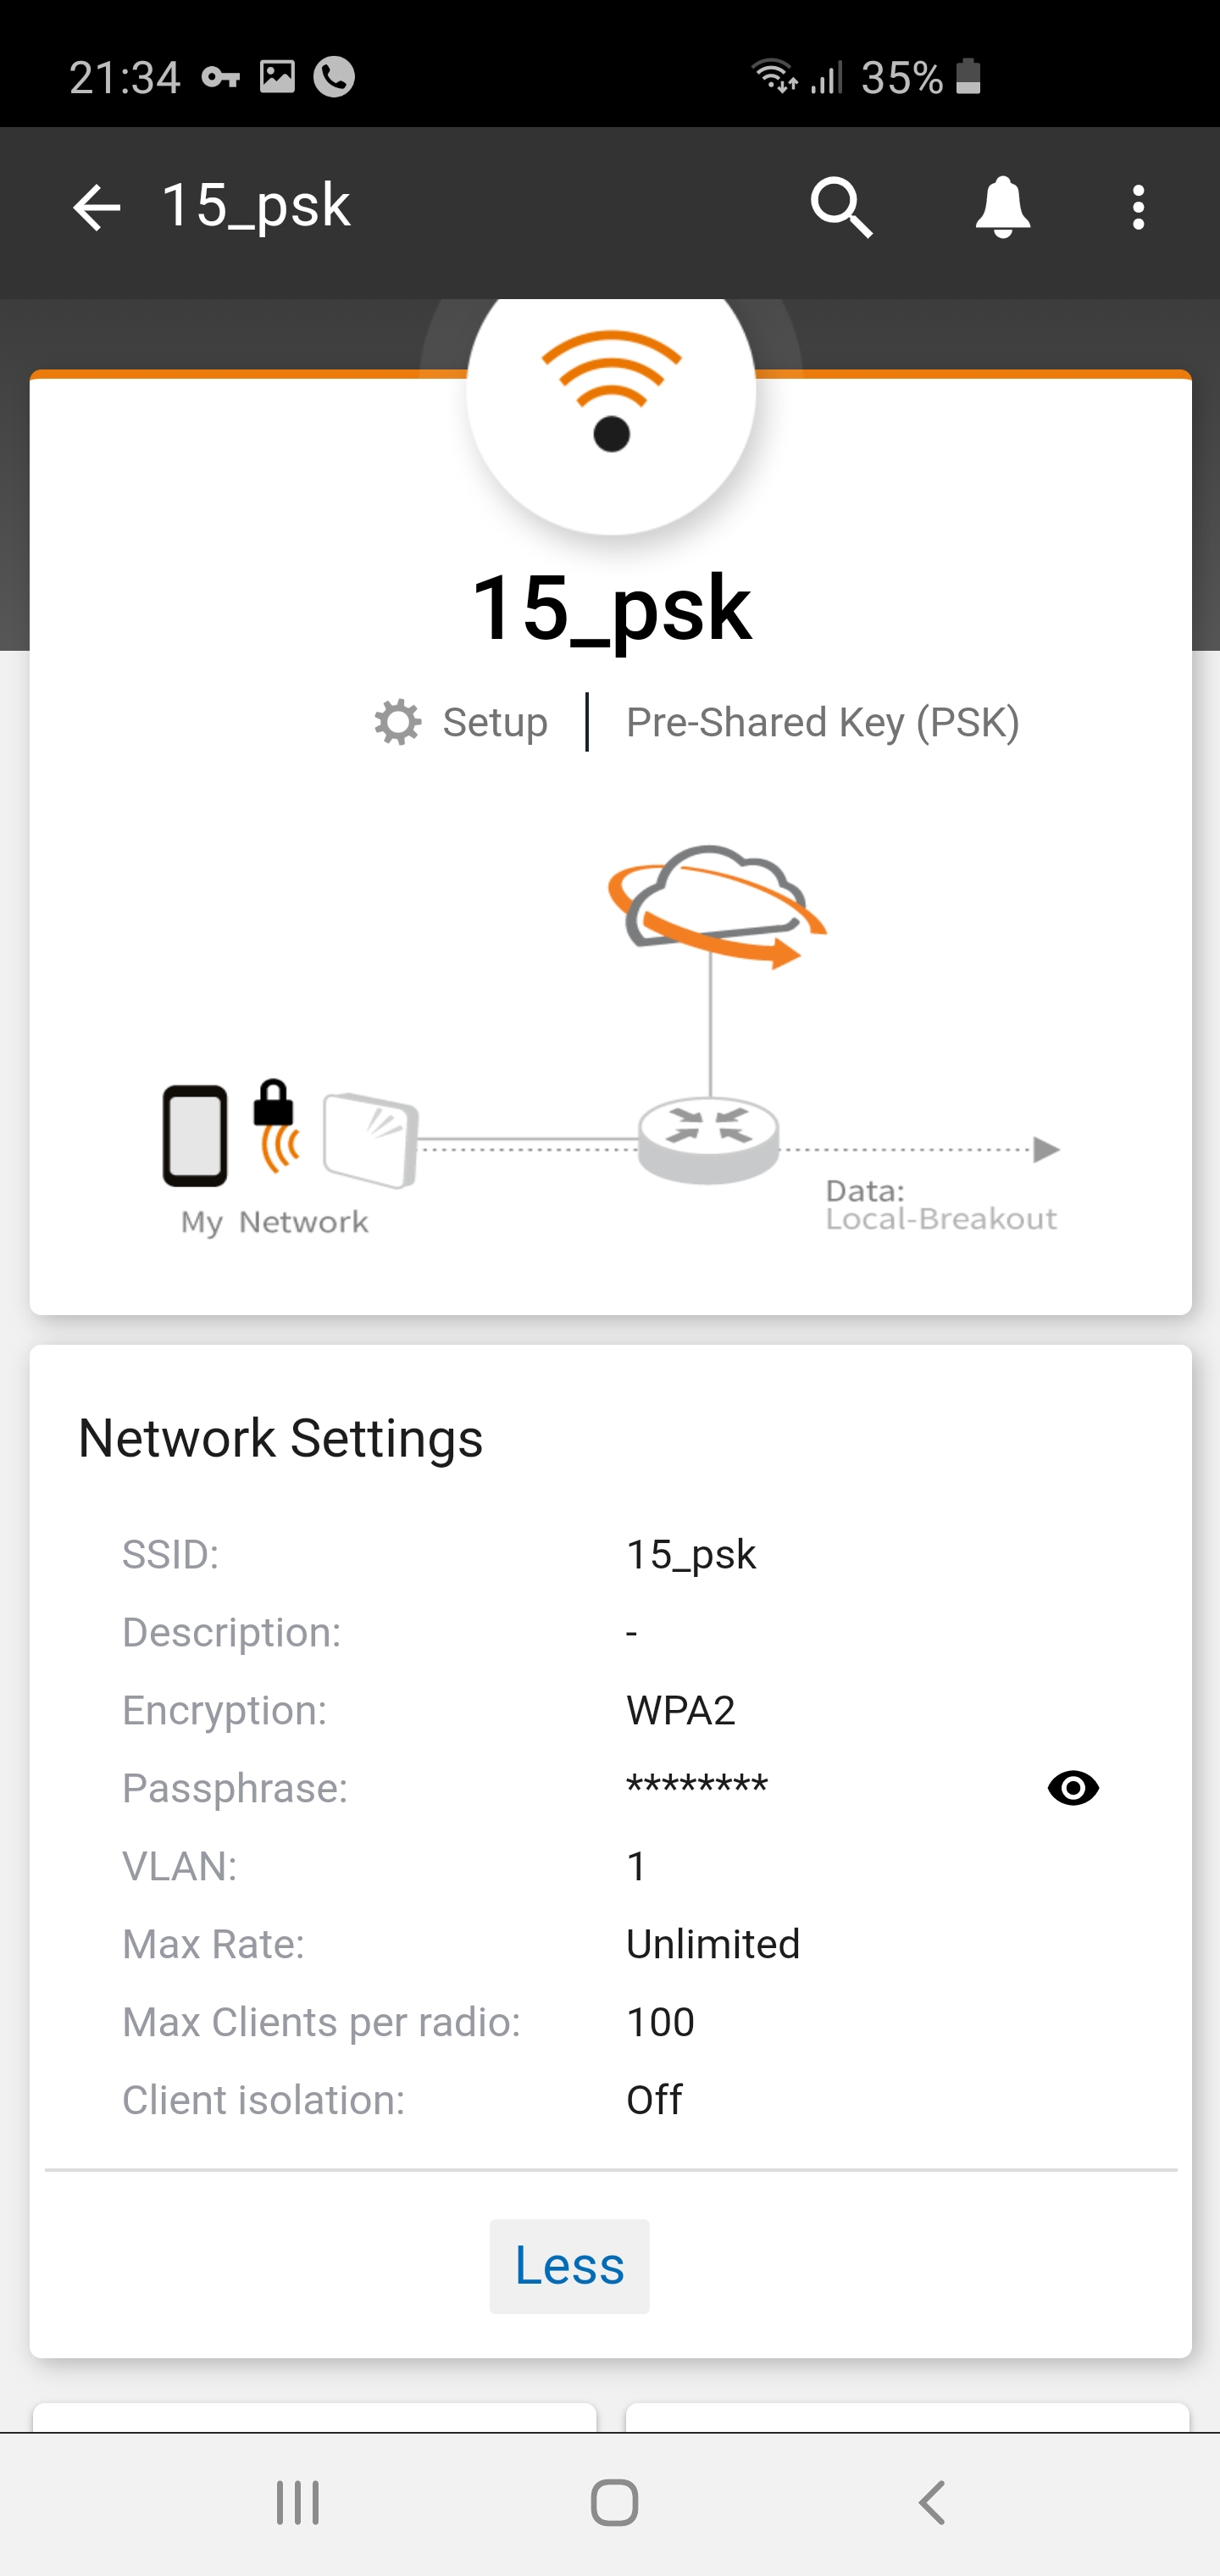
Viewing Networks
From the navigation menu, tap on
Networks.
Viewing Networks
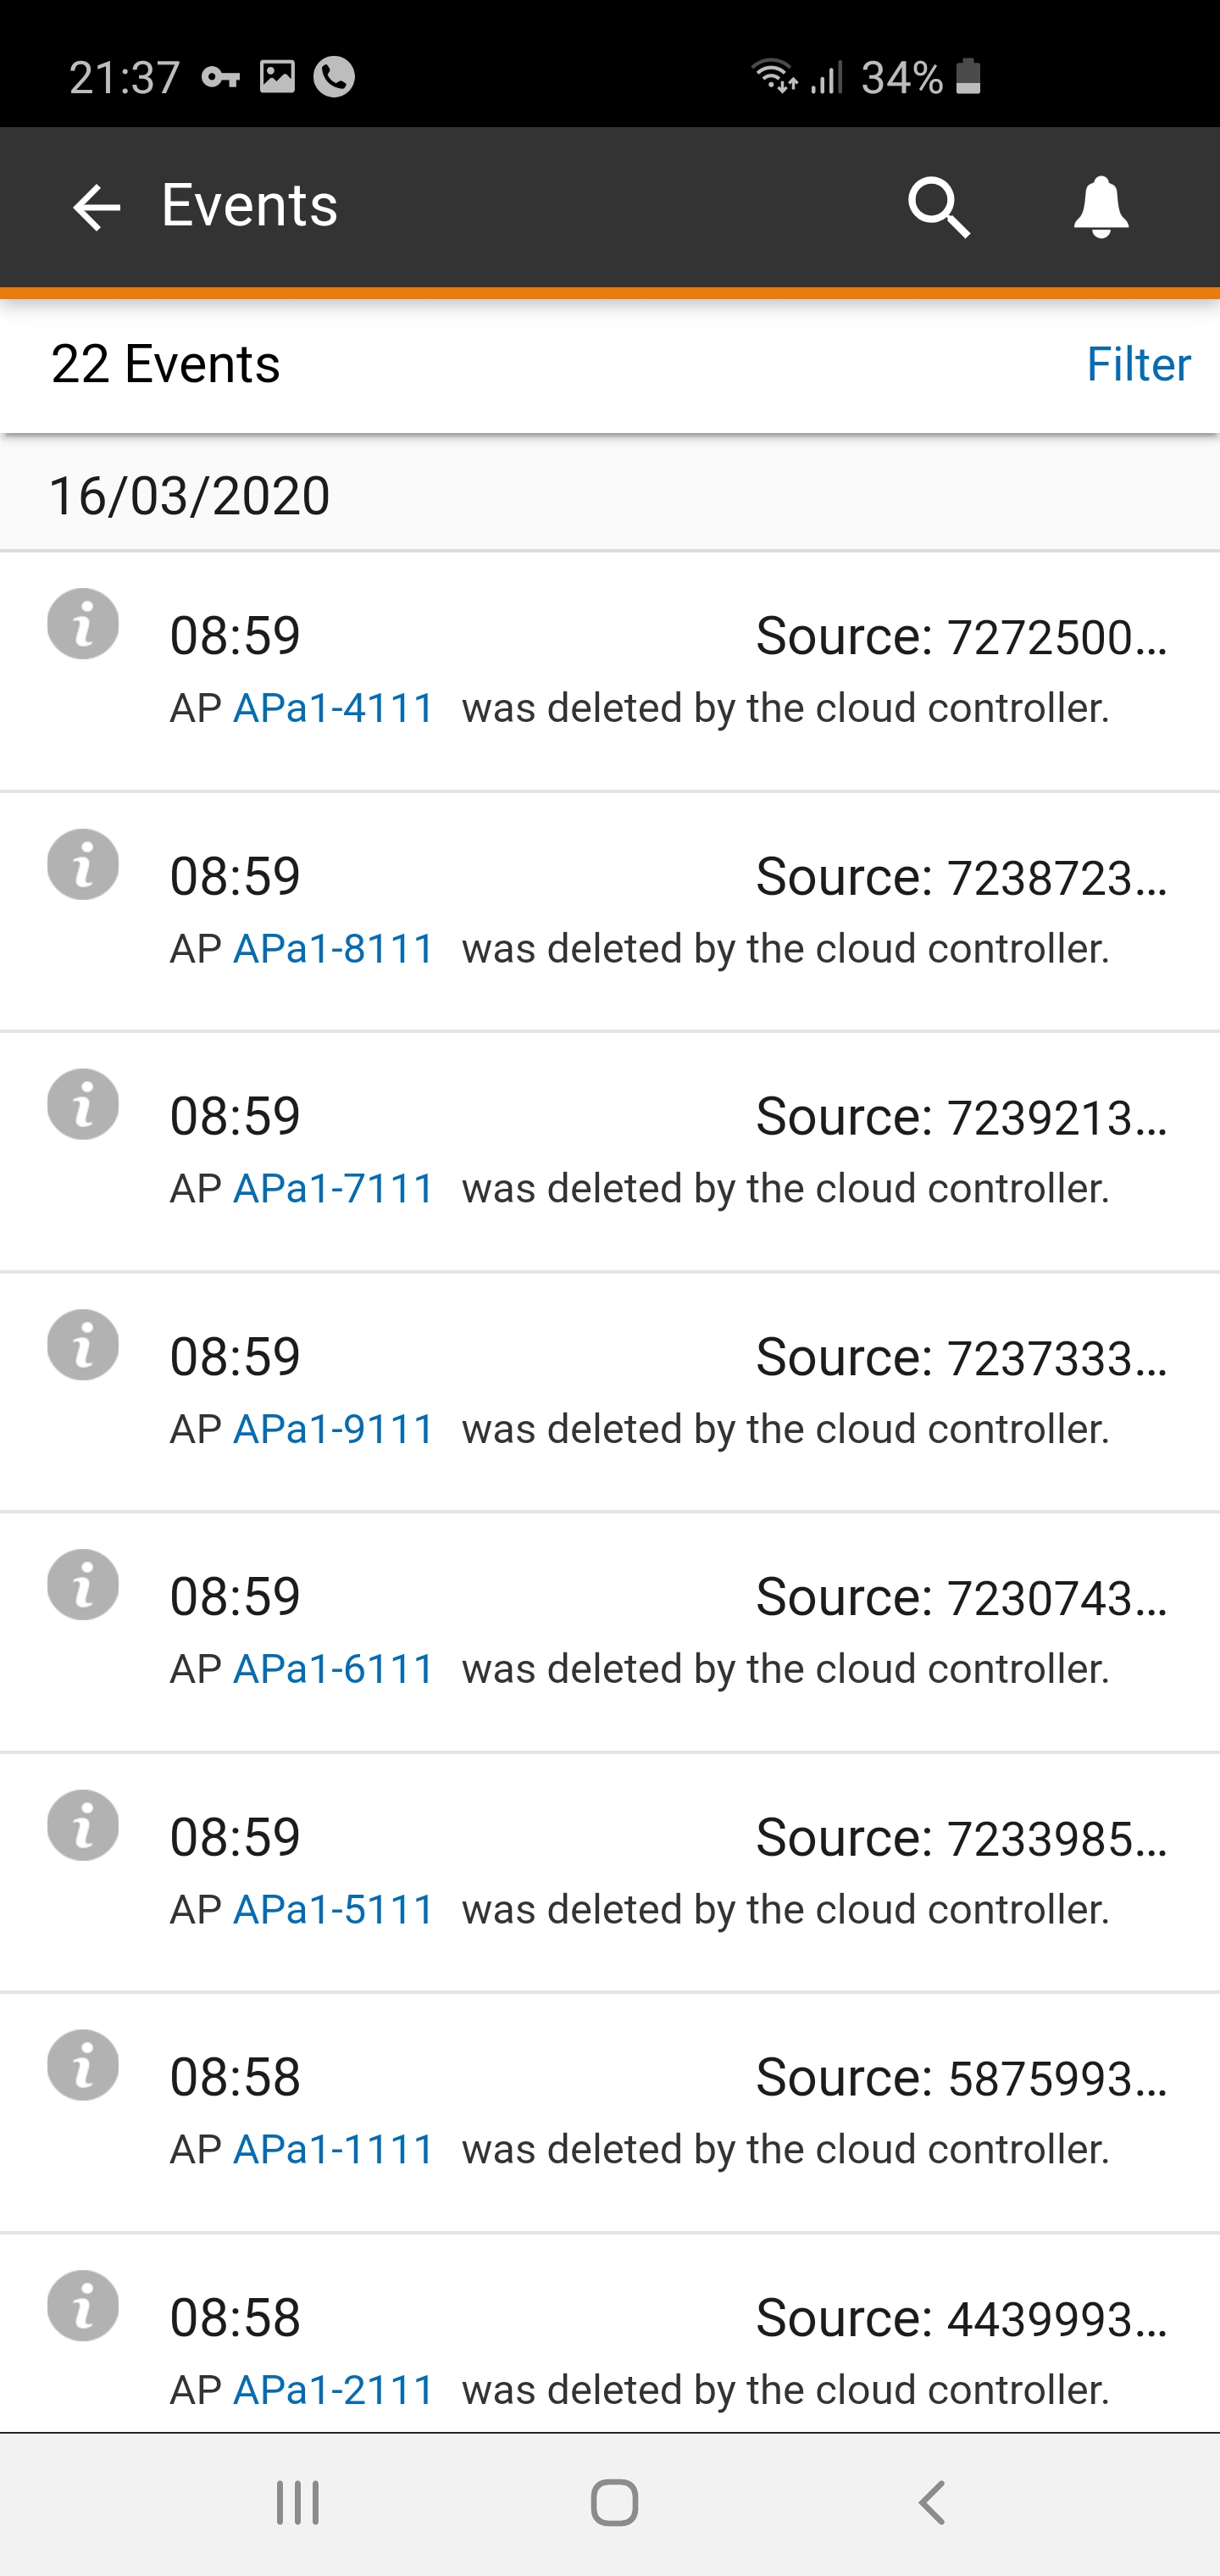
Viewing Events
From the navigation menu, tap on
Events.
Viewing Events