Adding, Editing, or Deleting a LAG
-
Click Add
LAG.
The Add LAG dialog box is displayed.
Adding a LAG 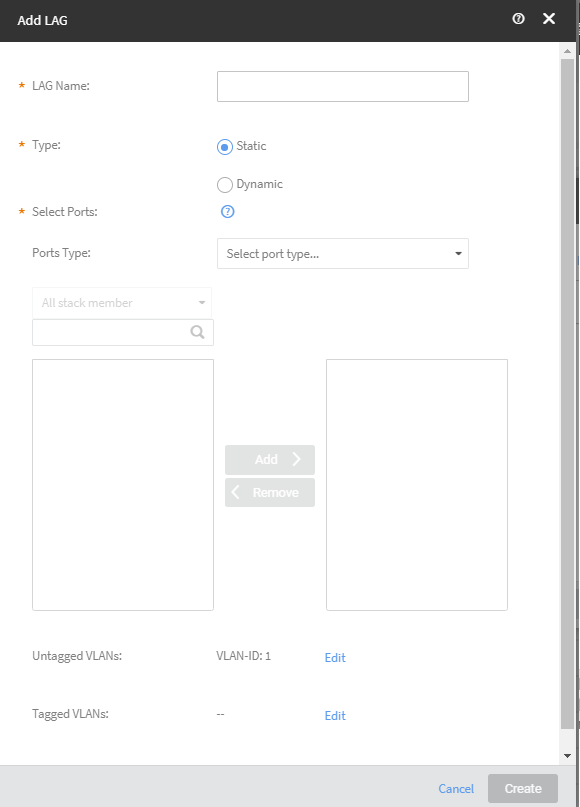 Note: After creation of LAG, the LAG member port is grayed out and not editable or configurable on port details. Any configuration on the interface can be done through LAG.
 -
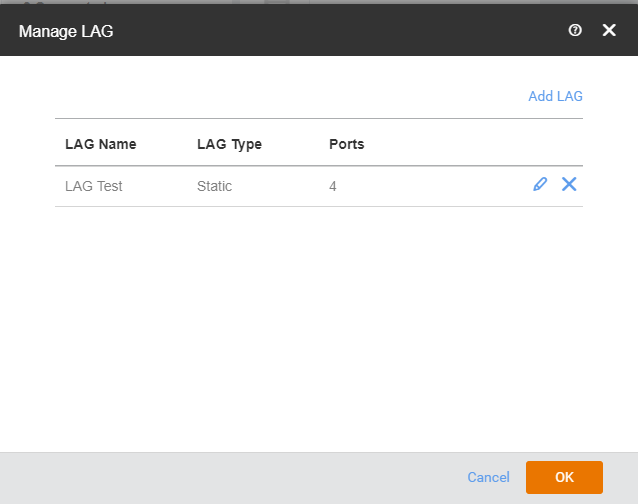
Click Manage LAG in the
upper-right corner.
Managing a LAG