Configuring an External Location Server for a Venue
Location services gives carriers, service providers, and enterprises the ability to deliver a wide range of location-based value-added services that can help increase profitability while enhancing the online experiences of the users.
RUCKUS SPoT ™ Smart Positioning Technology is available in flexible deployment options: a virtualized on-premise instance or a cloud hosted service. A number of third-party location service provider partners are available.
Note: The licensing is separate for
using RUCKUS SPoT or any external third-party location server partner. Licensing
is not included with the base RUCKUS Cloud subscription.
-
In the Wi-Fi Settings section, at the lower-right corner of the page,
set the Location Server button to ON.
The Location Server dialog box is displayed.
Location Server Dialog Box 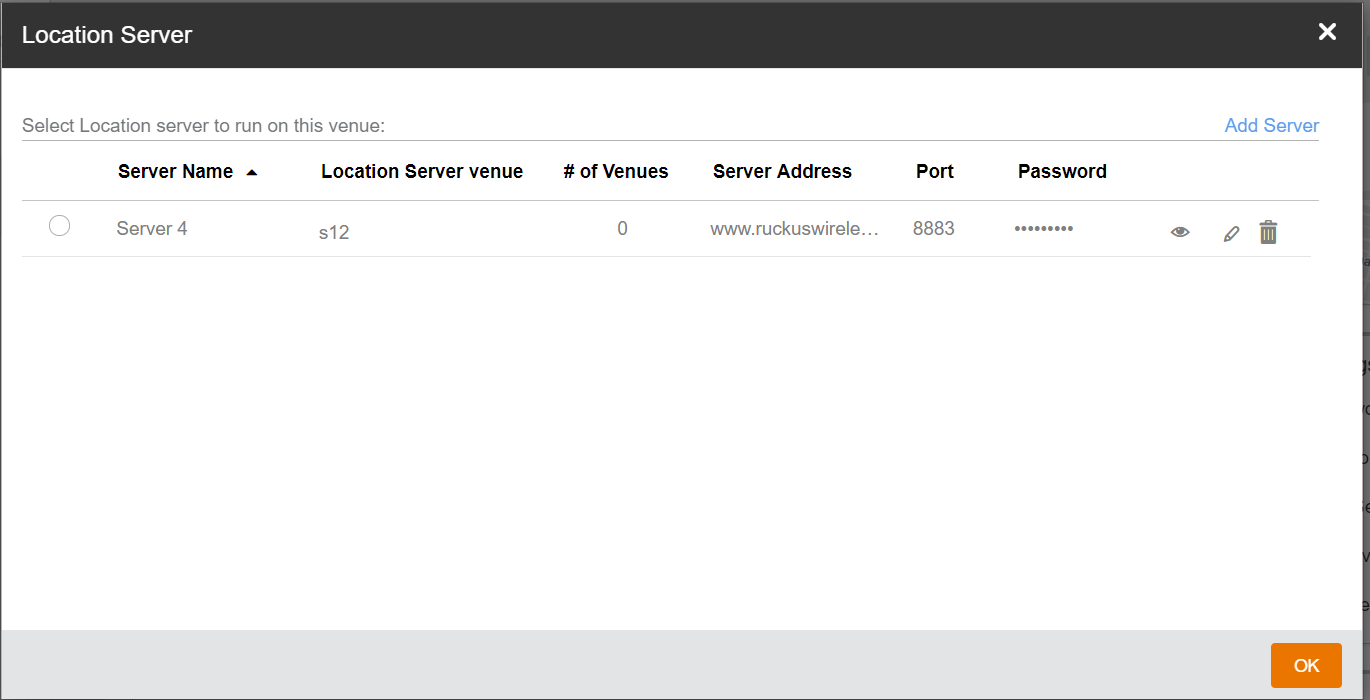
-
Configure the location server:
Add Location Server 
- Server Name: Enter the name of the server (up to 32 alphanumeric characters).
- Server Address: Enter a valid IP address or URL (up to 252 characters).
- Port: Enter the port number. The valid range is from 1 through 65535. The default value is 8883.
- Password: Enter the password for the location server. The password must be a minimum of 8 characters and up to 63 characters in length.
Note: The password is automatically generated in SPoT ™ when you create the venue configuration.
-
Select the server name to indicate the location server to run in the current venue and click
OK.
When you select a location server, you are prompted to copy the venue information to the location server configuration.
Copying Location Server Information to the SPoT ™ Configuration 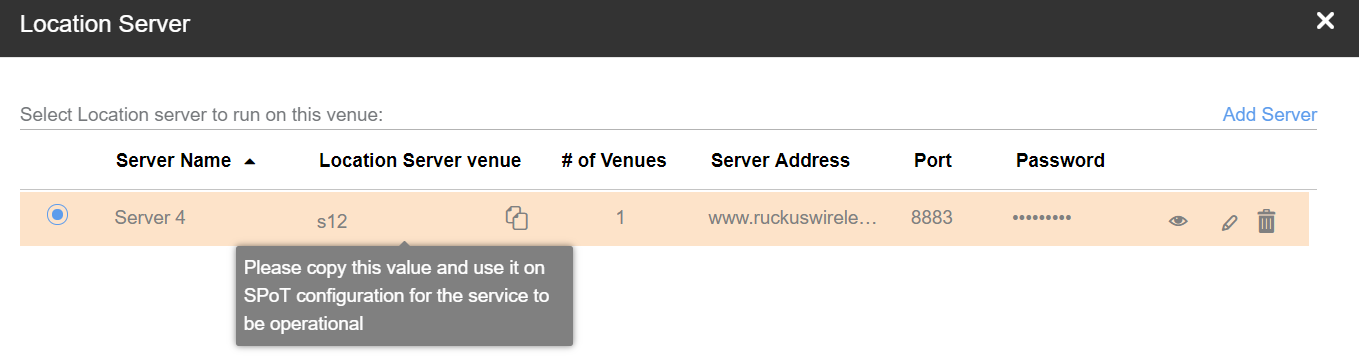
-
(Optional) Click the
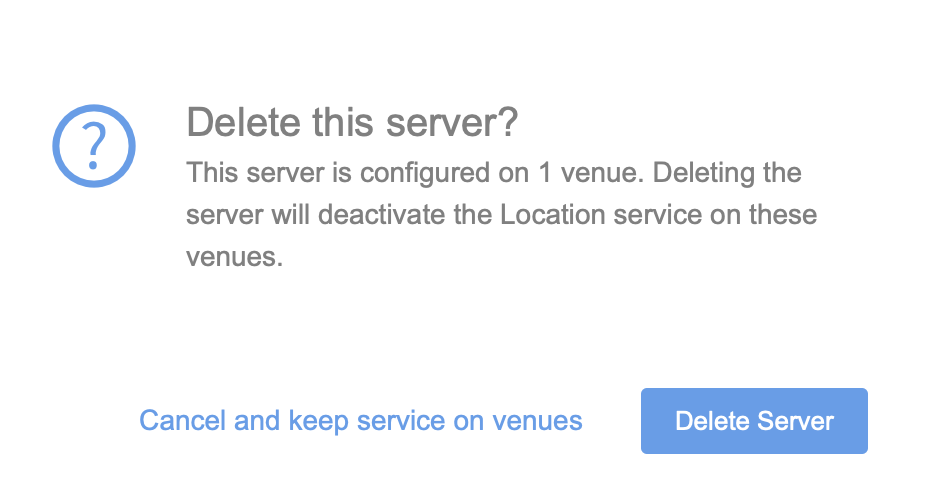
Delete(trash can) icon to delete the location server configuration.
When you attempt to delete a location server, a confirmation message is displayed.
Delete Server Confirmation Message