From the navigation pane, click
Venues
and select a venue.
In lower-right corner of the
venue Overview page, click Settings and then
select Switch Settings from the drop-down.
The Switch
Settings page appears. By default, the
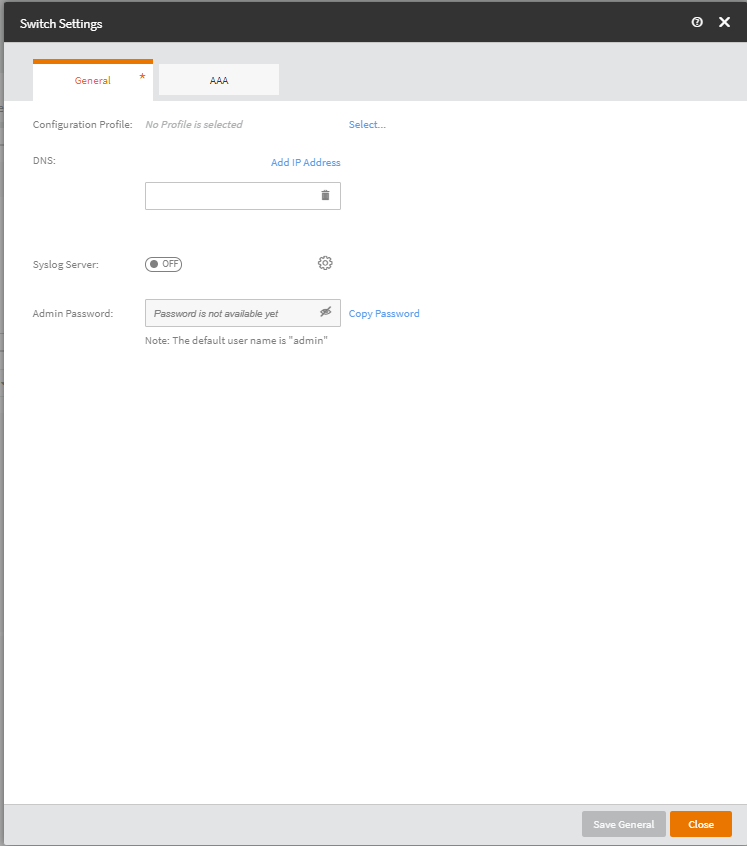
General tab is displayed.Switch
Settings
In the Configuration Profile section, click
Select to select a configuration profile.
You can change and/or add a configuration profile. Click Add
configuration profile to add a switch configuration
profile.
In the DNS, click Add IP Address and enter a
valid IP address
(Optional) Toggle the Syslog Server
switch to ON and then enter the IP addresses of the Syslog Server. After
entering the IP addresses for server 1 and server 2 click OK.
Select a configuration profile
from the Configuration Profile list.
Click the eye icon to view the
admin password. Click Copy Password to copy the password.
The Admin password shown
can be used to access CLI interface locally at the switch. The username is
admin.
Click Save to save the
switch settings.
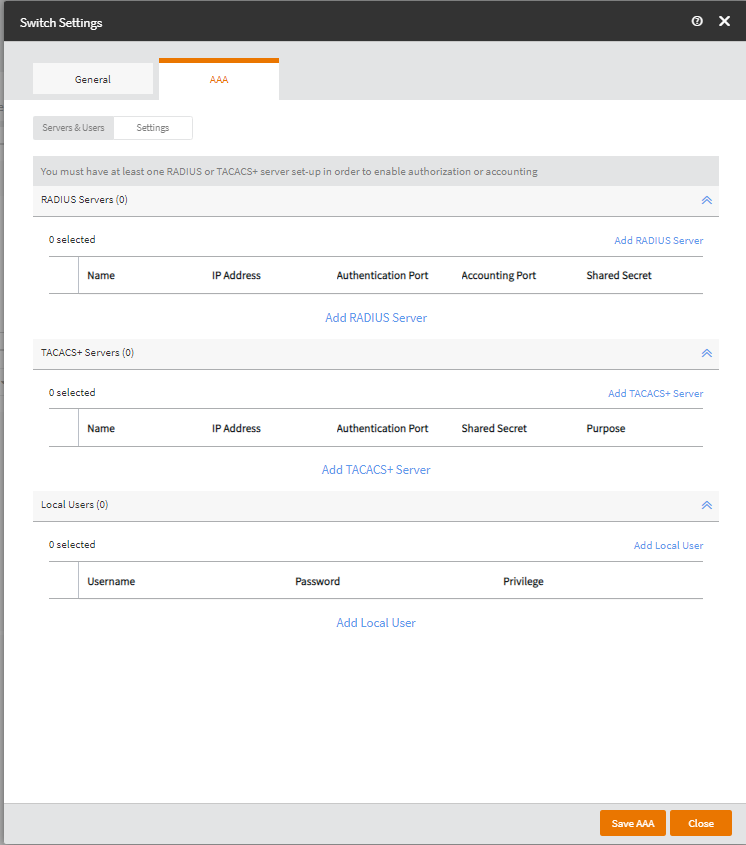
You must configure RADIUS or TACACS+ server in order to enable authorization or
accounting.
After Step 2, select the AAA
sub-tab.
The Servers & Users page appears.AAA Servers and Users
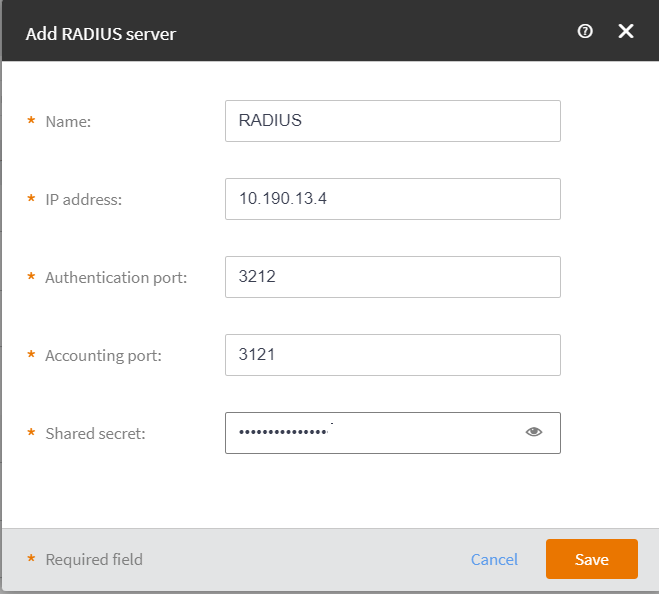
Click Add RADIUS Server to configure a RADIUS
server.
The Add RADIUS Server dialog box appears.Add RADIUS Server
Complete the following:
Name: Enter a name for the RADIUS server.
IP Address: Enter the IP address of the RADIUS
server.
Authentication port: Enter the authentication
port.
Accounting port: Enter the accounting port.
Shared secret: Set a shared secret.
Click Save.
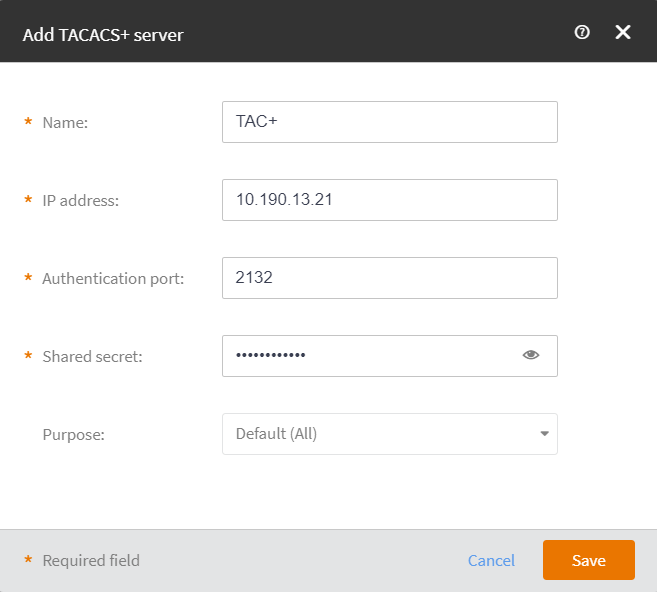
Click Add TACACS+ Server to configure a TACACS+
server.
The Add TACACS+ Server dialog box appears.Add TACACS+ Server.
Complete the following.
Name: Enter the Name of the TACACS+ server.
IP Address: Enter the IP address of the TACACS+
server.
Authentication port: Enter the authentication
port.
Shared secret: Set a shared secret.
Purpose: Select one of the purpose from the
drop-down: Default (All),
Authentication, Authorization
, or Accounting.
Click Save.
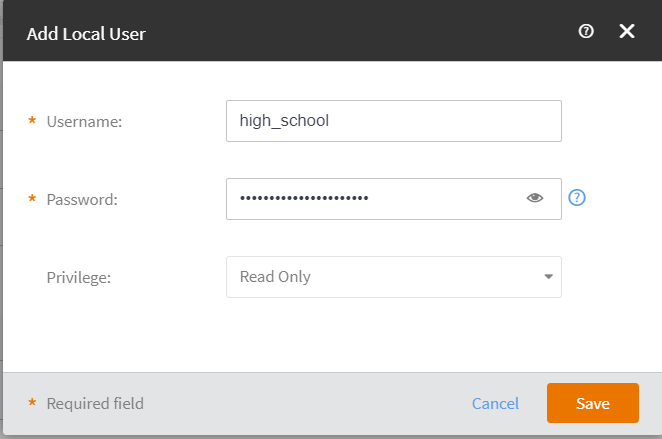
Click Add Local User to add a local user.
The Add Local User dialog box appears.Add Local User
Complete the following.
Username: Enter a username.
Password: Set a password.
Previlage: Set previlage from one Port
Config, Read Write, or
Read-Only
Click Save.
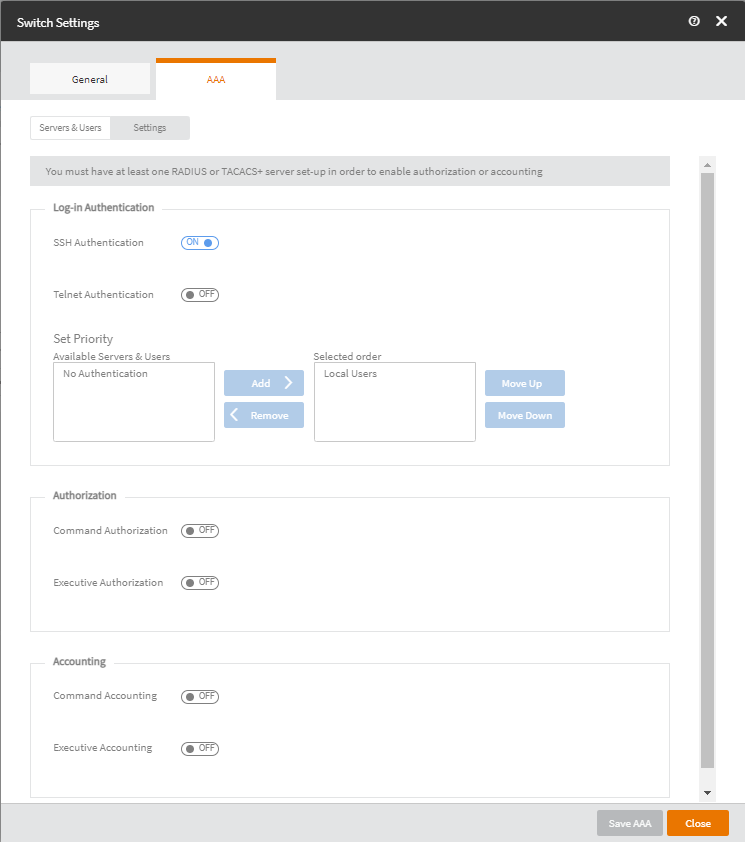
Click the Settings sub-tab.
The Settings page appears.AAA Settings
Complete the following.
In the Log-in Authentication section,
SSH Authentication: By default. this option is set to
ON.
Telnet Authentication: Set the switch to ON. By
default. this option is set to ON.
In the Set Priority section, select the available servers
and users under Available Servers & Users and use the
Add >< Remove buttons to add or remove servers and users.
Select the local users under Selected order and use the
Move Up and Move Down button to
set the order.
In the Authorization section,
Command Accounting: Set the switch to
ON. By default, this option is set to
OFF.
Executive Accouting: Set the switch to
ON. By default, this option is set to
OFF.
In the Accounting section,
Command Accounting: Set the switch to
ON. By default, this option is set to
OFF.
Executive Accouting: Set the switch to
ON. By default, this option is set to
OFF.