Adding DHCP Service Profiles
Follow these steps to add a DHCP service profile.
-
In the upper-right corner of the
page, click DHCP
service profiles.
The DHCP service profiles dialog box appears.
DHCP Service Profiles 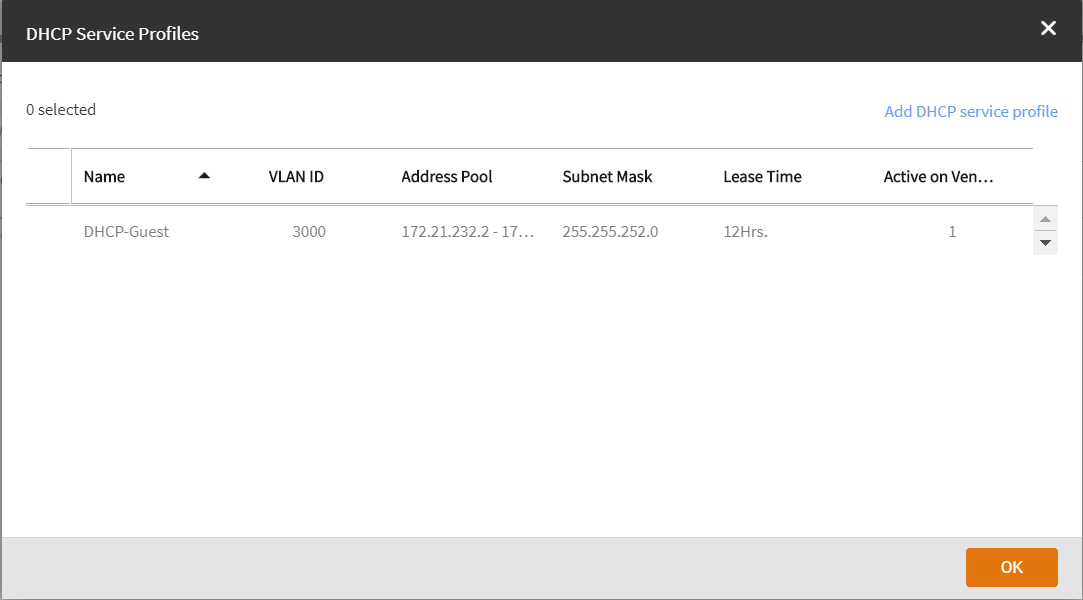
-
Click Add
DHCP service profile.
The Add DHCP Service Profile dialog box appears.
Add DHCP Service Profile 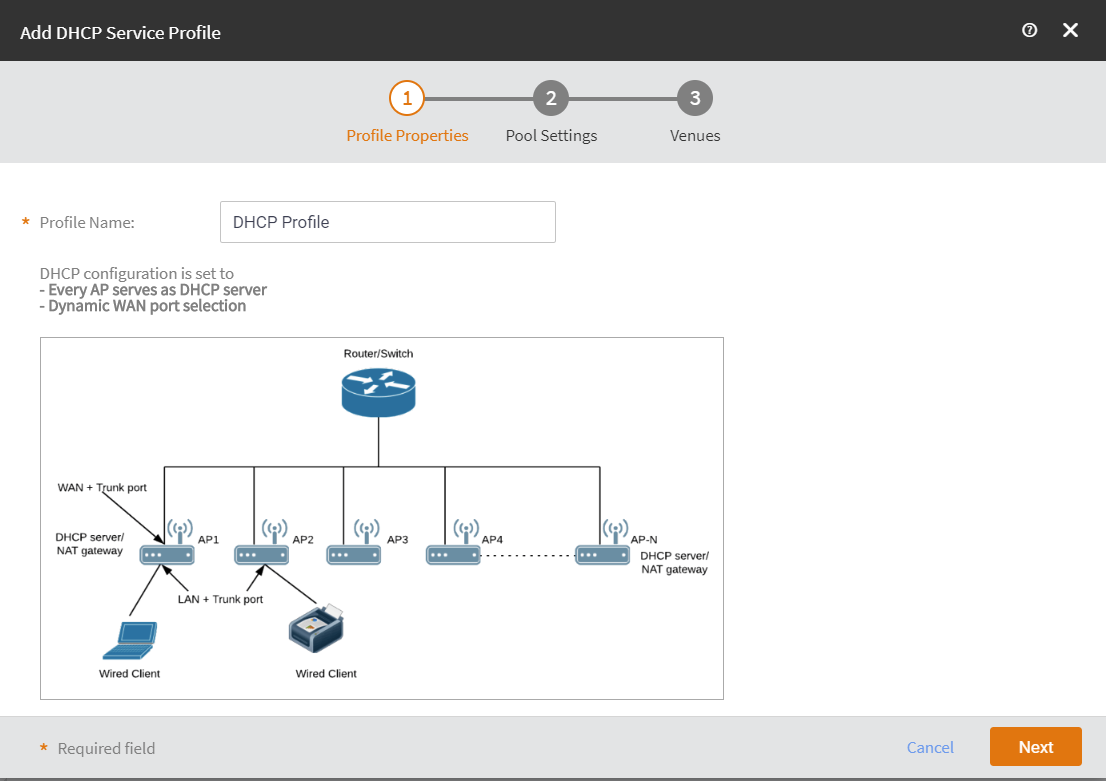
-
Complete the following and then click Next.
Add DHCP Service Profile: Pool Settings 
- VLAN ID: Enter the VLAN ID.
- Subnet Address: Enter the subnet address.
- Subnet Mask: Enter the subnet mask address.
- Start IP Address: Enter the start IP address.
- End IP Address: Enter the end IP address.
- Primary DNS IP: (Optional) Enter the primanary DNS IP address.
- Secondary DNS IP: (Optional) Enter the secondary DNS IP address.
- Lease: Enter the lease period in hours or in munutes.
-
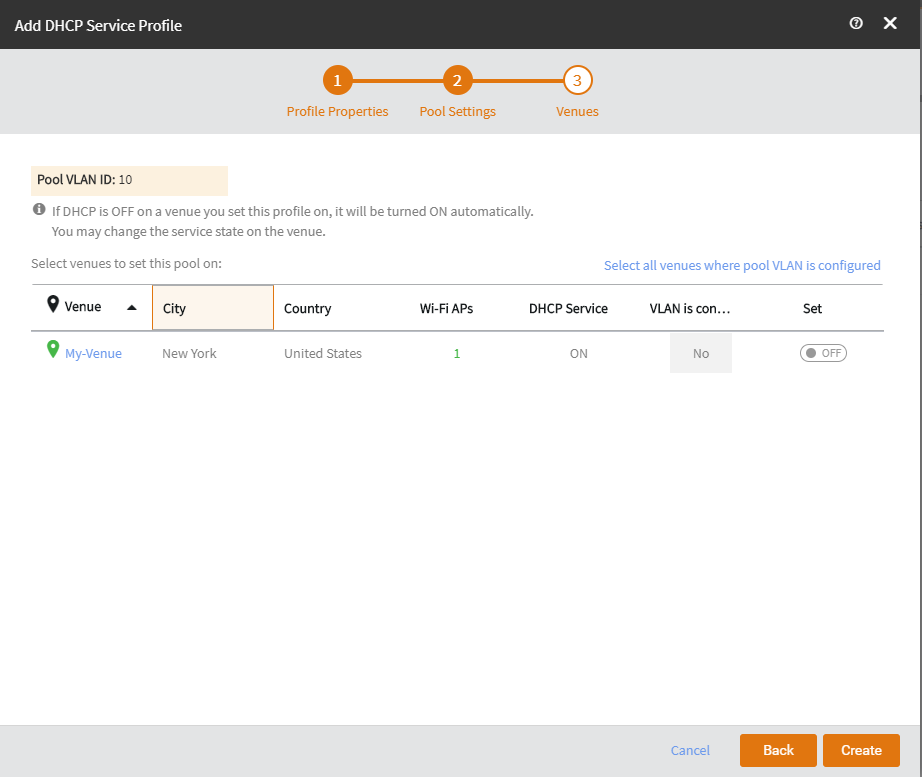
Select the venue to set the pool on and toggle the Set to
ON.
Add DHCP Service Profile: Venues