Edit a network if you need to update any
of its current settings. For example, if you want to change the network name, description,
network type settings, advanced network settings, or even the venue at which it is
advertised.
Complete the following steps to edit a
network.
From the navigation bar, select
Wi-Fi > Wi-Fi Networks
List.
The Wi-Fi
Networks page is displayed, defaulting to the Network
List tab.
Select the check box next to the
Name column and click Edit.
Alternatively, click a specific network name. The details page for the
selected Wi-Fi Network is displayed, defaulting to the Overview tab, and click
Configure.
The Edit Network page is displayed.
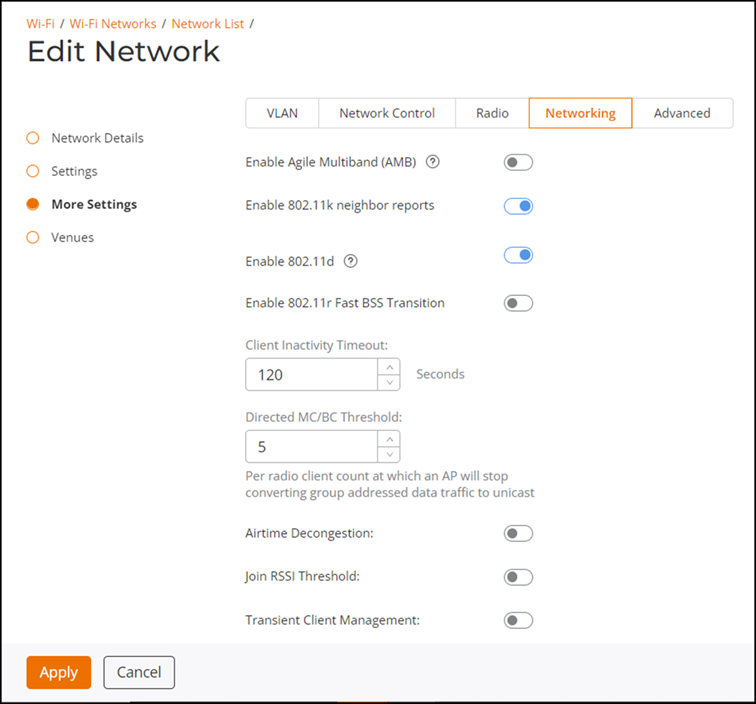
Select More Settings and click the
Networking tab.
The Edit Network page is displayed.Configuring Network Settings
(Optional) Toggle the
Enable Agile Multiband (AMB) switch to enable the
feature. Agile Multiband prioritizes roaming performance in indoor environments,
supporting protocols 802.11k, 802.11v, 802.11u, and 802.11r.
(Optional) Toggle the
Enable 802.11k neighbor reports switch to enable the
feature. This feature enhances roaming by providing a list of neighbor APs to
the client device.
Toggle the Enable 802.11d switch to enable the feature.
When enabled, this feature allows the AP to support multiple regulatory domains
by the addition of a country information element to beacons, probe requests, and
probe responses.
Set the Client Inactivity Timeout. The valid range is from
60 through 86400 seconds.
Set the Directed MC/BC Threshold. The valid range is from
0 through 5.
(Optional) For activating the airtime decongestion feature, toggle the
Airtime Decongestion switch to
ON.
(Optional) Toggle the
Join RSSI Threshold switch to enable this option.
(Optional) Toggle the
Transient Client Management switch to enable the option
and configure parameters for Join Wait Time, Join
Expire Time, and Join Wait Threshold.
(Optional) Toggle the Optimized Connectivity Experience
(OCE) switch to ON to configure parameters
for Broadcast Probe Response Delay and RSSI-Based
Association Rejection Threshold.
(Optional) Toggle the AP Host Name Advertisement in Beacon
to ON.
Set the DTIM (Delivery
Traffic Indication Message) Interval switch to enable the
feature. The valid range is from 1 through 255.
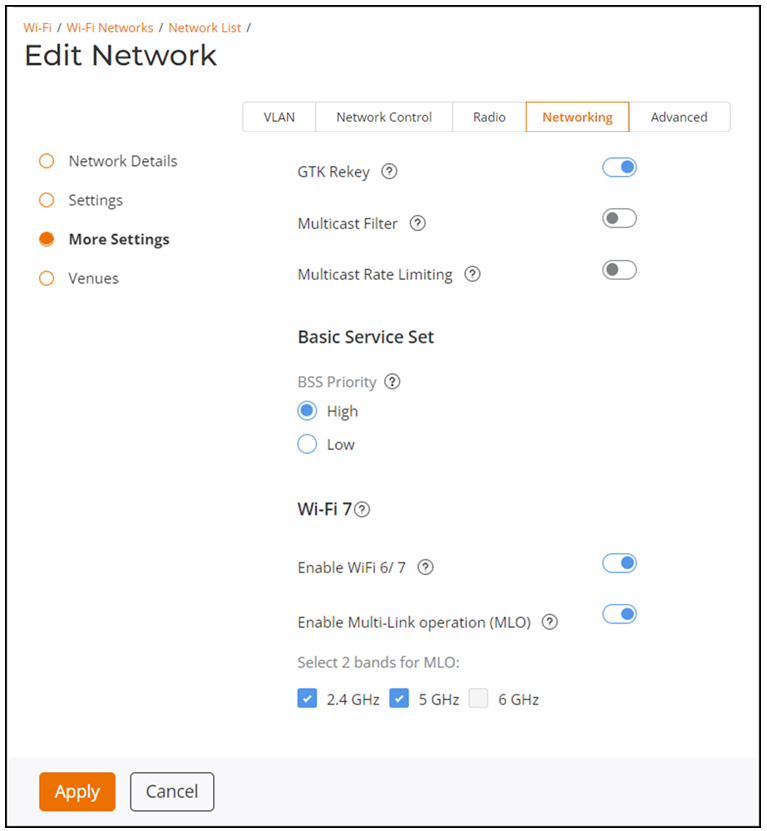
(Optional) Toggle the
GTK Rekey switch to enable the feature. This feature is
required for the periodic generation of a new group key for securing
multicast/broadcast traffic.
Edit Network: More Settings
(Optional) Toggle the Multicast Filter switch to enable
or disable the feature.
(Optional) Toggle the Multicast Rate Limiting switch to
enable or disable the feature.
In the Basic Service Set section, select set the BSS
priority to: Low or High.
LOW: Reduces the priority of the WLAN by limiting
the throughput to all clients connected to this WLAN.
HIGH: Has no throughput limits. By default, the
WLAN priority is set to HIGH.
In the Wi-Fi 7 section, toggle the Enable WiFi
6/ 7 switch to enable the feature.
When this feature is enabled, it allows legacy Wi-Fi 5 clients with
out-of-date drivers to inter-operate with a Wi-Fi 6/7 AP.
In the Wi-Fi
7 section, toggle the Enable Multi-Link operation
(MLO) switch to enable the feature.
This toggle is only available when the
network uses WPA3, WPA2/WPA3 mixed mode, or
OWE encryption. When you enable this feature, all three bands, 2.4
GHz, 5 GHz, and 6 GHz
are selected by default.
Note:DPSK is not supported for this feature.
This feature allows a Wi-Fi 7
device to utilize multiple radio channels concurrently, for better throughput
and increased network efficiency. Most relevant in high-density environments.
The radios for MLO need to be active on APs.