Cloning a Venue
You can clone an existing venue to quickly create a new venue with similar settings. During cloning, you can update only a few fields, while all other configurations are copied automatically.
Consider the following when cloning a venue:
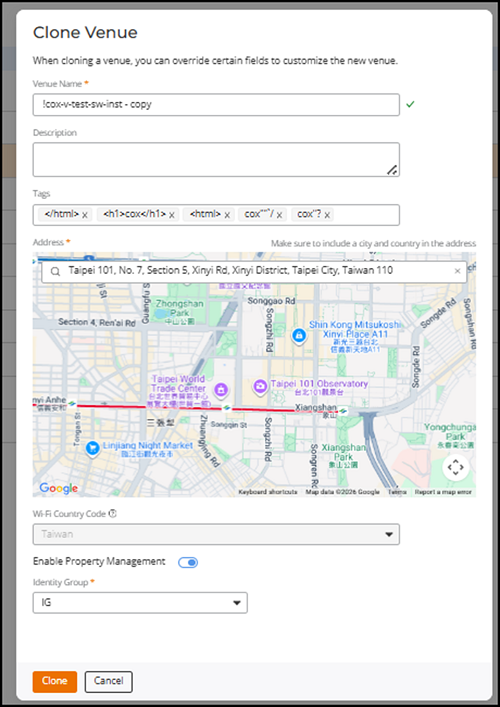
- Cloning a venue creates a new venue using an existing venue as the source and copies its configuration and associated settings. Only the venue name, address, tags, description, and identity group can be changed; all other settings are copied automatically.
- Non-default AP groups are cloned, and the related Wi-Fi, Switch, and Property Management configurations are applied without requiring manual reconfiguration. Default AP groups are not duplicated.
- The clone operation may take longer to complete than other venue actions. After cloning is complete, the new venue is created as a separate, editable entity, and changes made to it do not affect the source venue.
- If SD‑LAN features associated with RUCKUS Edge are enabled on the source venue, you must disable them before you clone the venue. The system prevents cloning until SD‑LAN is turned off.
- The clone does not copy the
following settings: Property Management System (PMS) attribute, Wi‑Fi DHCP
Service settings for Multiple AP DHCP, Wi‑Fi DHCP Service settings for
Hierarchical AP DHCP, and Edge PIN settings. You can review and configure them
on the cloned venue if required.Note: Only the PMS attribute is excluded during cloning. All other Property Management settings, including the Identity Group, are copied to the cloned venue. You can configure the PMS attribute on the cloned venue after cloning.
-
Click the checkbox alongside the
venue name, then click the Clone option that appears
above the table.
The Clone Venue dialog box is displayed.
Clone Venue