You must add a venue before you can
connect your networking devices to RUCKUS One to offer Wi-Fi service. If you want to assign
your access points to a venue other than the default, you can add a new venue.
Complete the following steps to add a venue.
From the RUCKUS One web
interface, click Venues.
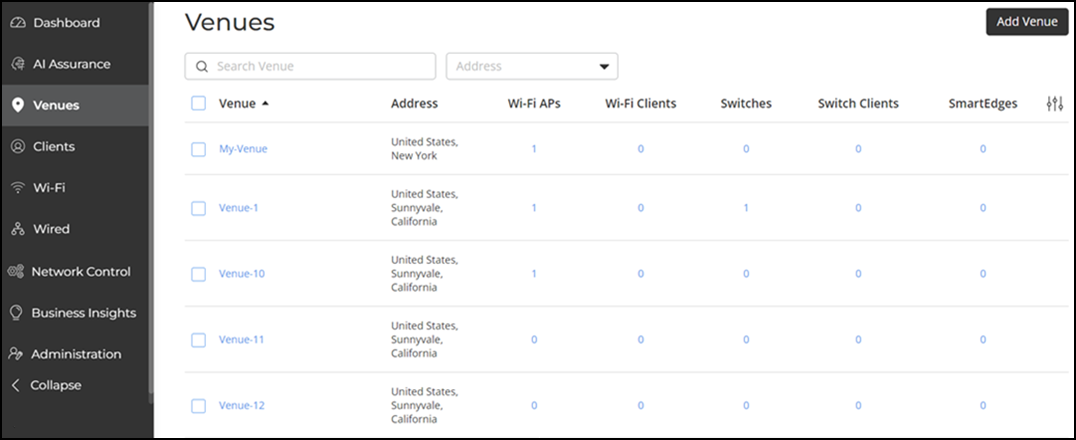
The Venues page is displayed. Venues Page
In the upper-right corner of the page, click
Add Venue.
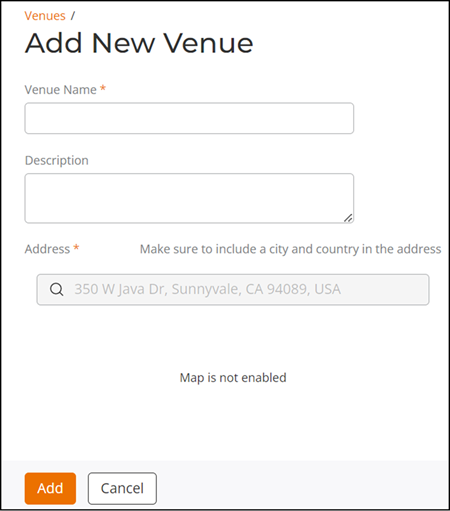
The Add New
Venue page is displayed. Adding a New Venue
(Required) In the Venue Name field, enter a name for the venue that you
are creating.
In the Description
field, enter a brief description of the venue.
In the Tags field, enter
a tag that you can use to search the venue from the gobal search option on the
RUCKUS One web interface.
(Required) In the
Address field, enter the address where the venue will
be located.
You can enter either a full
or partial address. For example, if you enter 350 W Java Dr, the field will
query all matching addresses on Google Maps and display them beneath the
Address field. From the matching addresses, select the
correct address.
Note: When the country in the Address field is set
to any location within the United States, the default 2.4GHz channels—1, 6,
and 11—are automatically applied to the venue upon creation.
Click Add.
When RUCKUS One completes adding the venue,
the Venues page
displays the newly added venue in the list of venues.
Note:
Demonstration of
Adding a Venue. This video walks you through the process of
adding a venue to the RUCKUS Network.