Editing a Venue
You can edit basic venue details information (such as the venue name, address, and description) as well as Wi-Fi, switch, and property management configurations.
-
Select the Venue
Name and click Edit.
Alternatively, click .
The Venue Details tab is displayed.
Venue Details Tab 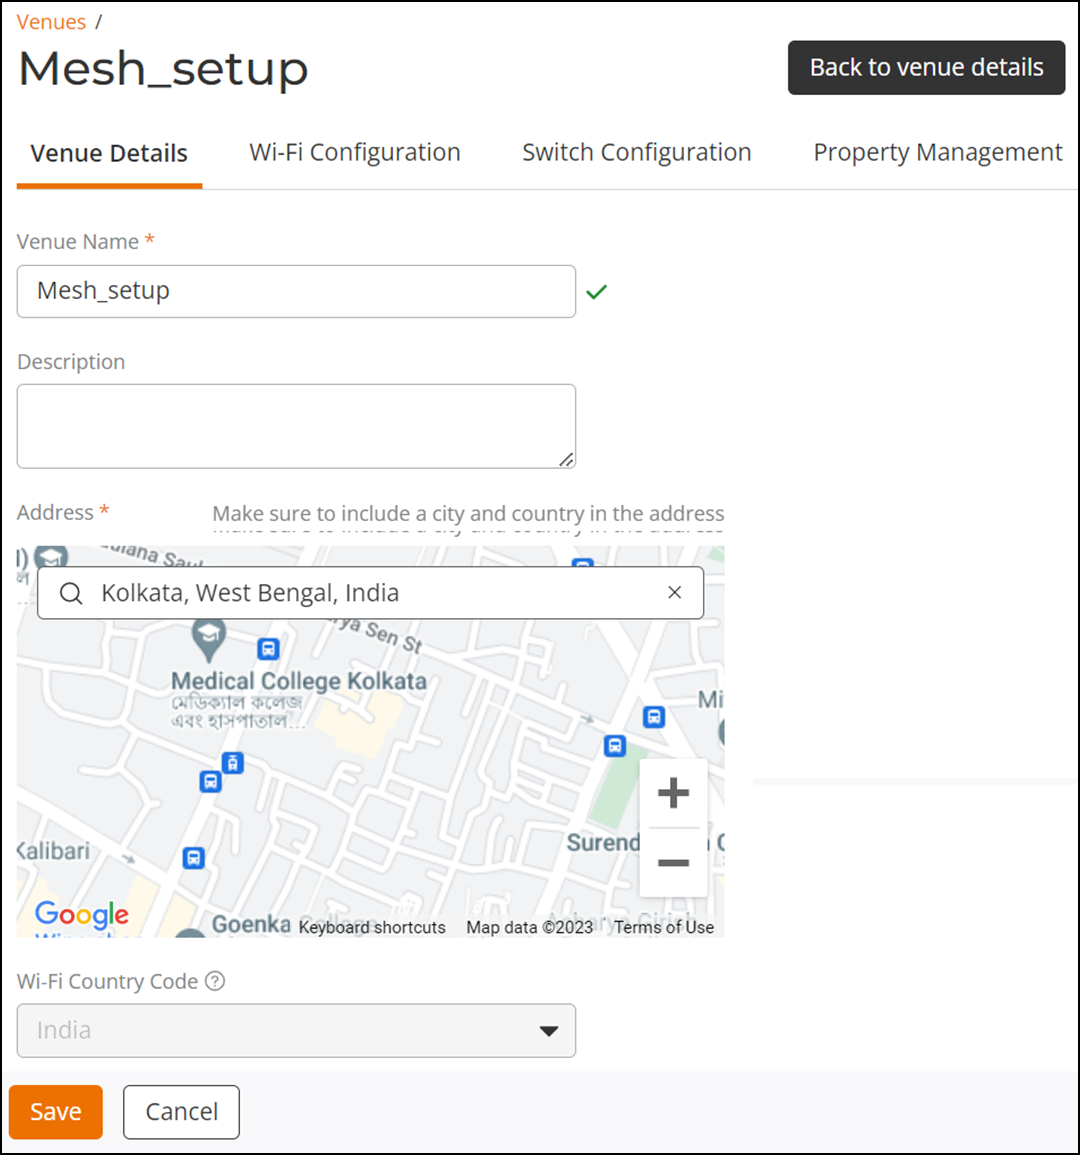
-
Click the Wi-Fi
Configuration tab.
The Wi-Fi Configuration tab displays the following sub-tabs.
Wi-Fi Configuration Tab 
- Radio: Update the Radio settings as required. Refer to Radio Settings.
- Networking: Update the Networking settings as required. Refer to Configuring Wi-Fi Networking Settings.
- Security: Update the Security settings as required. Refer to Security Settings.
- Network Controls: Update the Network Controls settings as required. Refer to Network Control Settings.
- Advanced Settings: Update the Advanced Settings as required. Refer to Advanced Settings.
-
Click the Switch
Configuration tab.
The Switch Configuration tab displays the following sub-tabs.
Switch Configuration Tab 
- General: Update the General settings as required. Refer to Switch Settings: General
- AAA: Update the AAA settings as required. Refer to Switch Settings: AAA.
- Configuration History: View the Configuration History. Refer to Switch Settings: Configuration History.
- Routed Interfaces: Update the Routed Interfaces settings as required. Refer to Switch Settings: Routed Interfaces.
-
(Optional) Click the Property
Management tab.
The Property Management tab is displayed.
Property Management Tab 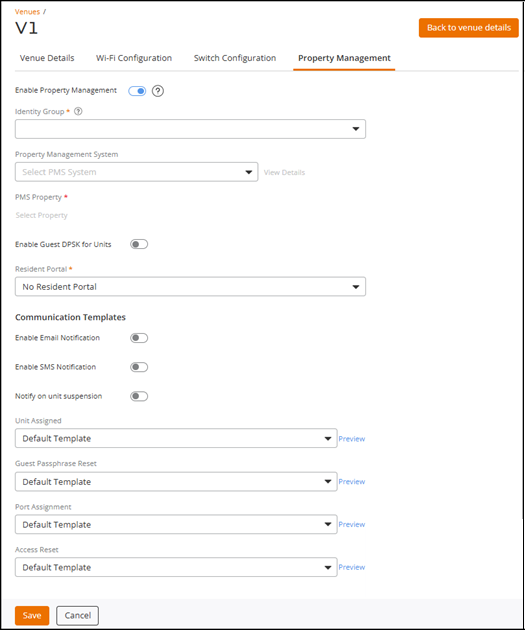
Toggle the Enable Property Management switch on to enable Property Management. Refer to Enabling and Configuring Property Management for more details.