You can add an identity group to your RUCKUS One account.
Complete the following steps to add an
identity group:
Note: If a DPSK service or
MAC registration list does not have an associated identity group, the system
automatically generates an identity group.
On the navigation bar, select
Clients > Identity
Management > Identity
Groups.
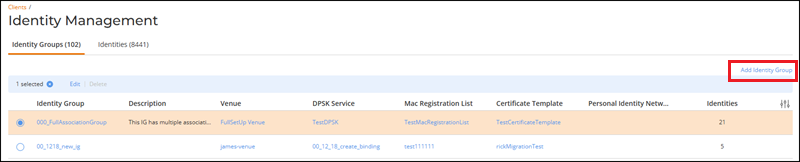
The Identity
Management page is displayed.
Click Add Identity Group on the Identity Groups
tab.
Identity Management -
Add Identity Group
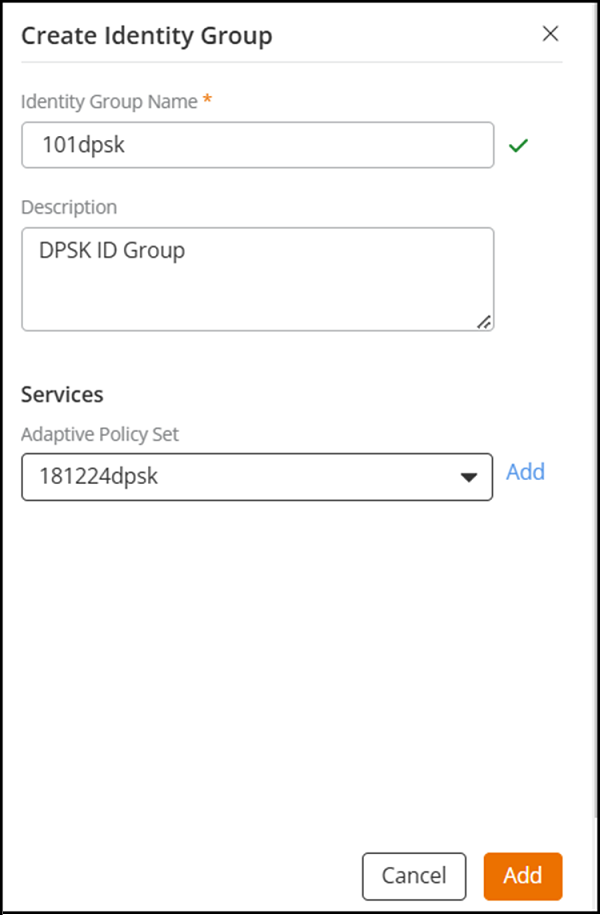
The Create Identity Group page is displayed.Create Identity
Group
In the
Settings section, enter the following details:
Identity Group
Name: Enter the identity group name.
Description: (Optional) Enter a description.
In the
Services section, select an Adaptive Policy
Set from the drop-down list.
If an adaptive policy is not
available or has not been defined, you can create a new one. Click
Add, and complete the following fields in the Add Adaptive Policy
Set dialog box:
Enter a Policy Set
Name.
Toggle the Override Services
Attributes switch on to override service attributes with
the values specified in the policy set.
Click Select
Policies.
The Select
Access Policies sidebar is displayed, listing all
available access policies.
You can optionally
create a new policy by clicking Add
Policy, completing the fields in the Add
Adaptive Policy sidebar, and clicking Add
to close the sidebar. Refer to Creating an Adaptive Policy for more
information.
You can then select the newly added policy by toggling the switch
on in the Select Access Policies sidebar and clicking
Add.
Note: You can add
multiple access policies to a single adaptive policy
set.
Click Apply and
select the newly added Adaptive Policy
Set from the drop-down.
In the Auto Clean-up
section, toggle the Enable the Identity auto clean-up settings switch on to remove
identities whose last associated device has been inactive for more than 30
days.
Click Apply.
The newly added identity group
is displayed in the Identity Group tab.
 The Create Identity Group page is displayed.