Complete the following steps to customize
LAN Ports, Cellular Options, Mesh Network, and Client Isolation Allowlist.
From the navigation pane, click
Venues.
Select a venue to go to the
Wi-Fi Settings page.
Click Settings on
upper-right corner and then select Wi-Fi Settings from the
drop down.
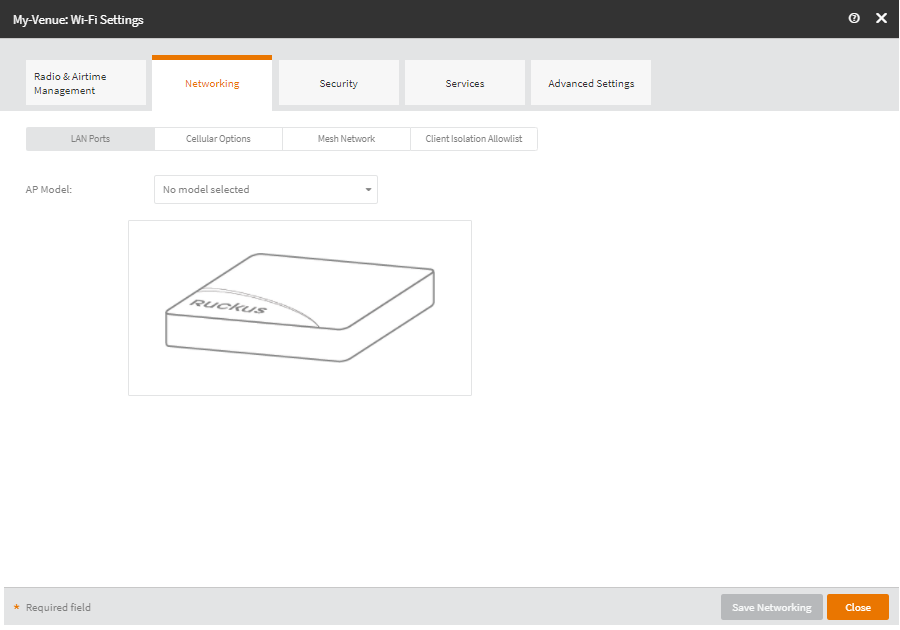
Click Networking
The
Networking page appears. By default, the LAN
Ports sub-tab is displayed.Networking
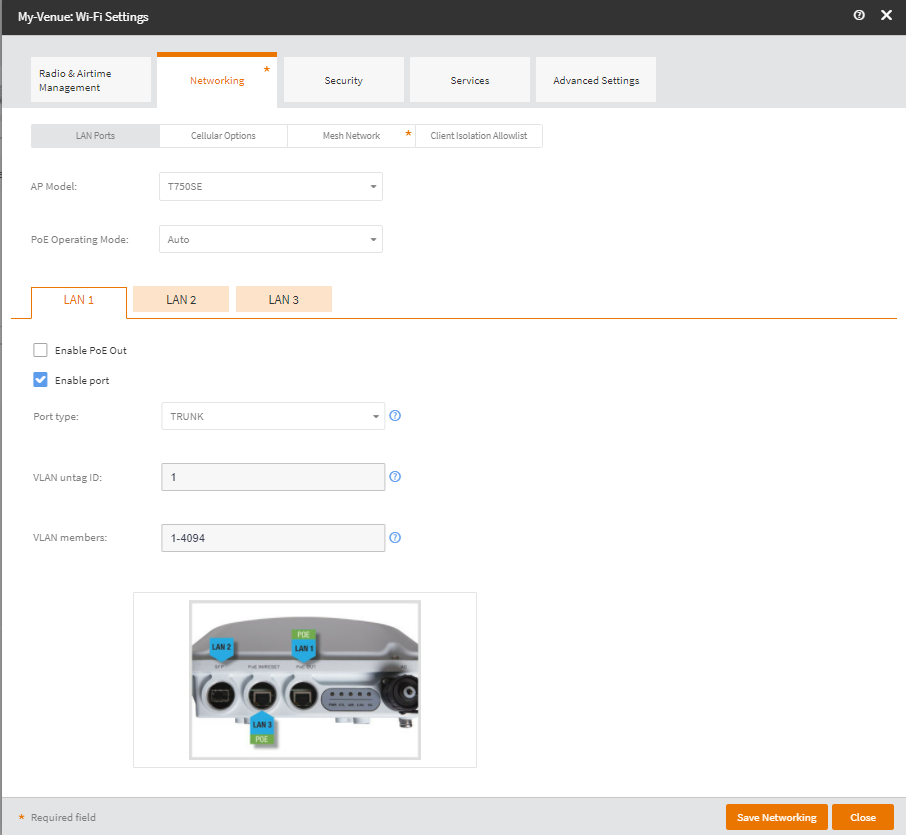
Select a AP from the AP Model drop-down.
The LAN Ports are displayed as in the the exmaple below.LAN Ports
Select a mode from the PoE Operating Mode
drop-down. By default, the PoE operating mode value is set to Auto.
You can choose one of the following.
Auto
802.3at
802.3bt/Class 5
802.3bt/Class 6
802.3bt/Class 7
Click the LAN port to be configured and complete the configuration.
Depending on the AP model, up to five LAN ports can be configured. Named tabs
(for example, LAN 1 and LAN 2) are displayed for each LAN port that can be
configured.
Select the Enable Port check box.
Choose the Port Type. The options are Trunk,
Access, or General.
Enter the VLAN untag ID. For a trunk port, the default is
1.
Enter the VLAN members. Enter a single VLAN ID or a VLAN
ID range (or a combination of both). The valid VLAN ID range is 1 through
4094.
Click Save Networking,
and then click Close.
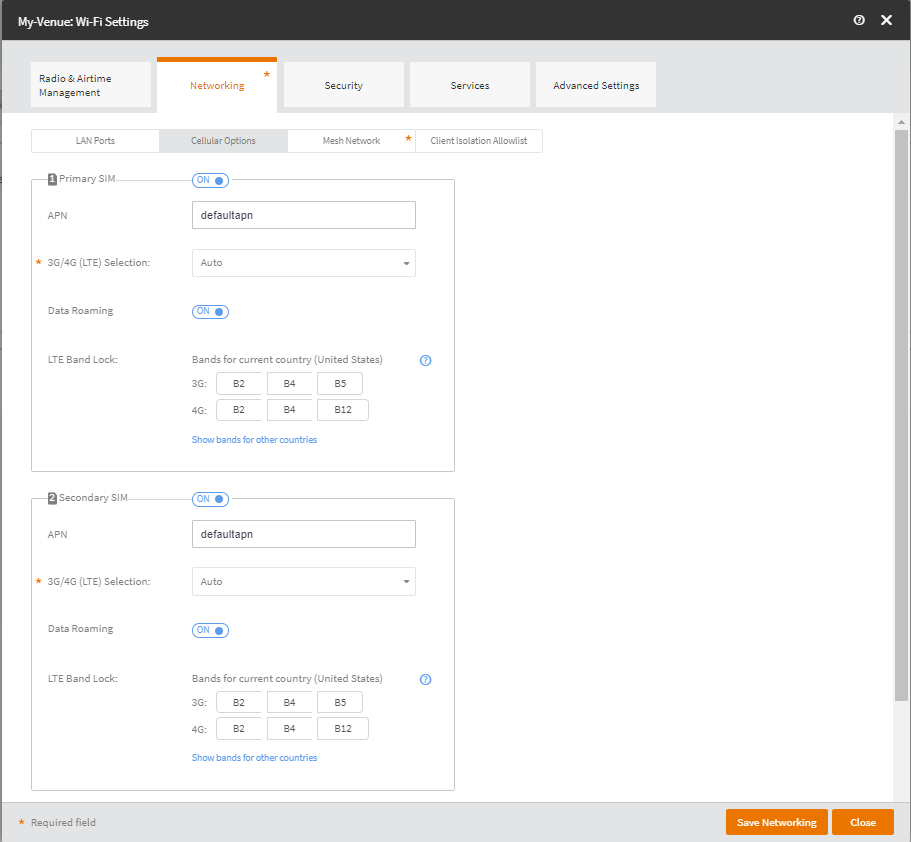
After Step 4, select the Cellular
Options sub-tab.
The Cellular Radio Settings page appears.
By default, both 1
Primary SIM and 2 Secondary SIM are set to
ON.
Use the toggle button to set the SIMs to ON or OFF.
Note: You must enable at least one SIM slot (Primary or Secondary).
Configure the following settings
for both Primary SIM and SIM:
APN: Enter the APN name.
3G/4G (LTE) Selection: By default, Auto
is configured. You can select either 4G (LTE) only, or
3G only, or Auto.
Data
Roaming: By deafult, data roaming is set to ON. To
disable data roaming, toggel the Data
Roaming to OFF.
LTE Band Lock: Select the bands for the 3G and 4G
for your current country. Click Show band for other countries
to view the available bands for other Domain 1 and Domain 2
countries, and Japan.
Select the WAN Connection.
Ethernet (Primary) with
cellular failover (Default)
Cellular (Primary) with
Ethernet failover
Ethernet
Only
Cellular
Only
Set the Primary WAN Recovery
Timer. The default value is 60 seconds. The valid value is from
10 through 300 seconds.
Click Save Networking
and then click Close.
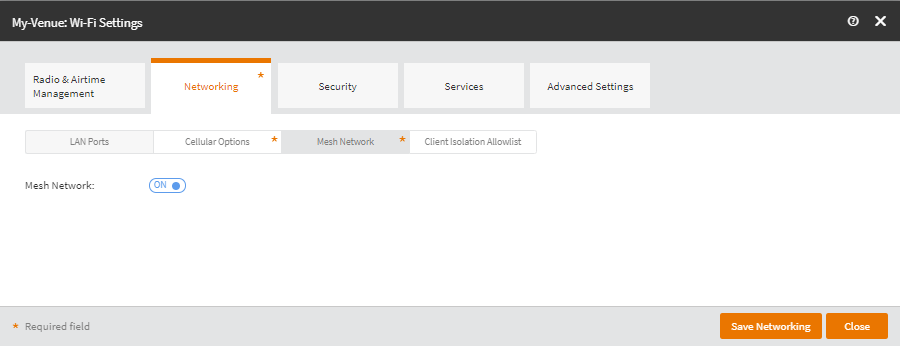
After Step 4, select the Mesh Network
sub-tab.
The Mesh Network page appears. Mesh Network
Set the Mesh Network switch to ON. By
default the mesh Mesh Network is set to
OFF.
Mesh networking is enabled.
Click Save Networking and then click
Close.
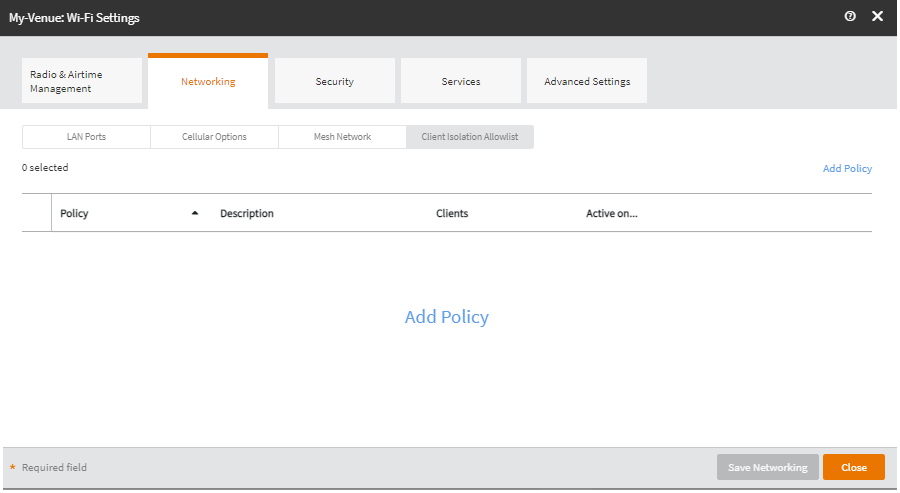
After Step 4, select the Client Isolation
Allowlist sub-tab.
The Client Isolation Allowlist dialog
box appears. Client Isolation Allowlist
Click Add Policy to add a client isolation allow-list
policy.
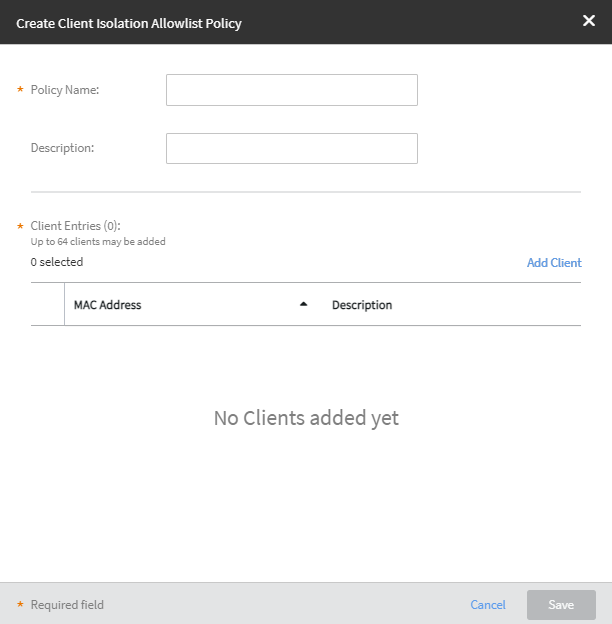
The create Client Isolation Allowlist Policy dialog
box appears.
In the Create Client
Isolation Allowlist Policy dialog box, complete the
following.
Create Client
Isolation Allowlist Policy
Policy
Name: The name of the policy.
Description: The policy description.
Click Add Client to add a client to the policy.
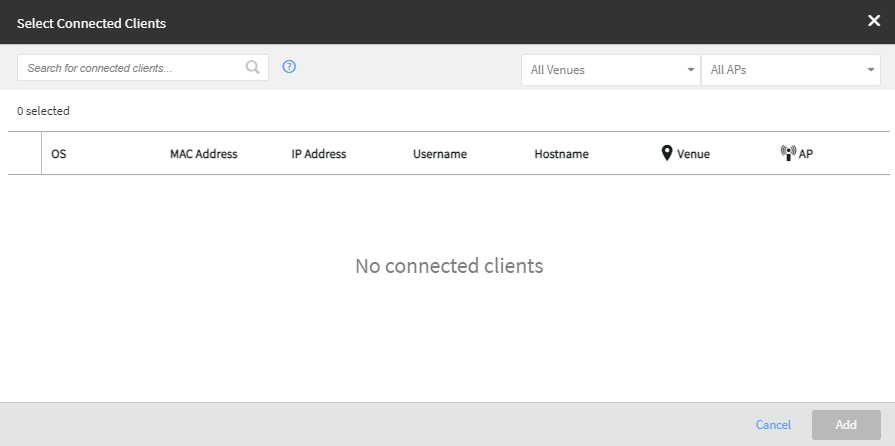
You can add clients by using one of these options:
Select from
Connected Clients: When you select this option, the
Select Connected Clients dialog box
appears.Select
Connected ClientsYou can search a connected client by OS, MAC address, IP
address, username, and hostname. Filter the clients by venues and/or
access points.
Select the clients that you want to add to the whitelist policy
and then click Add.
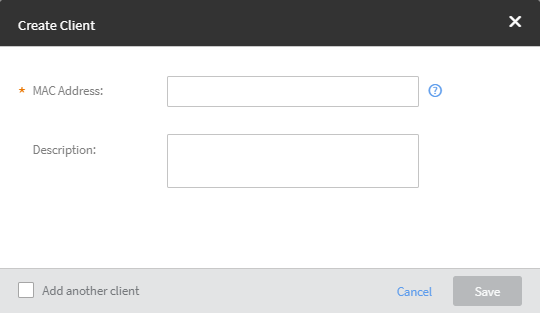
Add New
Client: When you select this option, the
Create Client dialog box appears.Create
Client
Enter the
MAC address in the MAC Address field, a
description in the Description field, and
then click Add.
After adding clients to the
policy, click Save in the Create Client Isolation
Allowlist Policy dialog box.