You can import multiple identity profiles
using a CSV file.
Complete the following steps to import multiple identity
profiles:
On the navigation bar, select
Clients > Identities
List.
The Identity
Management page is displayed, defaulting to the
Identities tab.
Click Import From
File.
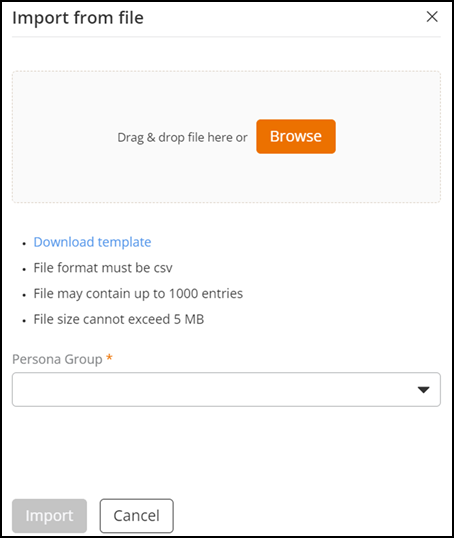
The Import from
file dialog box is displayed.Import from
file
Click Download template
to download the CSV template to your local machine.
Open the downloaded template
file on your local device, enter the required details, and save the file.
Note: The import file must meet the following
requirements:
The import file must
be in CSV format, contain no more than 10,000 entries, and must not
exceed 5 MB in size.
If an identity with
the same name already exists, the imported entry replaces the
existing record.
The CSV file must include the following columns: Name, Email,
Description, and VLAN.
In the Import from
file sidebar, drag-and-drop the CSV file into the upload area, or
click Browse to select the file.
You can replace the file by clicking the Change File
button, which allows you to browse and upload a new file.
Select an Identity
Group.
(Optional) Select the Assign DPSK passphrases to
the imported identities checkbox to assign DPSK passphrases to
the imported identities. The passphrase is assigned from the DPSK service
associated with the selected Identity Group. If you do not select this checkbox,
identities are imported without DPSK passphrases.
Click Start
Import.
The Import from file sidebar closes automatically, and
an in-progress notification is displayed.