Creating Webhooks
RUCKUS AI allows you to configure Webhook URL addresses to receive real-time notifications when incidents are created or updated in the application – much like e-mail notifications. Webhooks help applications to communicate with each other in real-time and typically use a message or payload to communicate between each other. The message or payload contains real-time information about the incident.
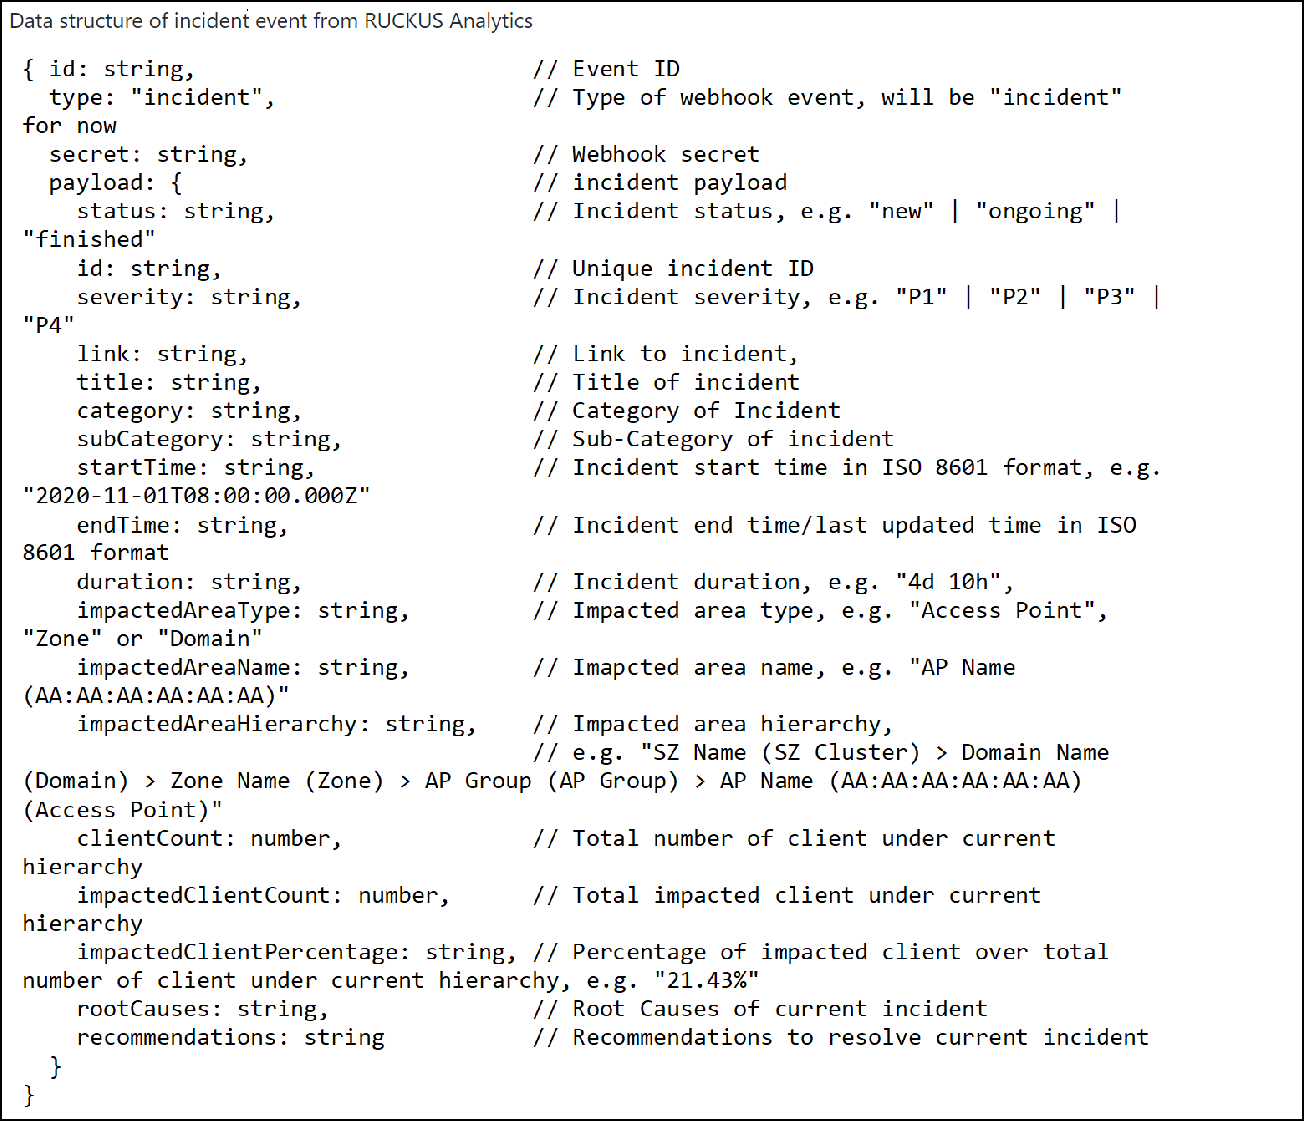
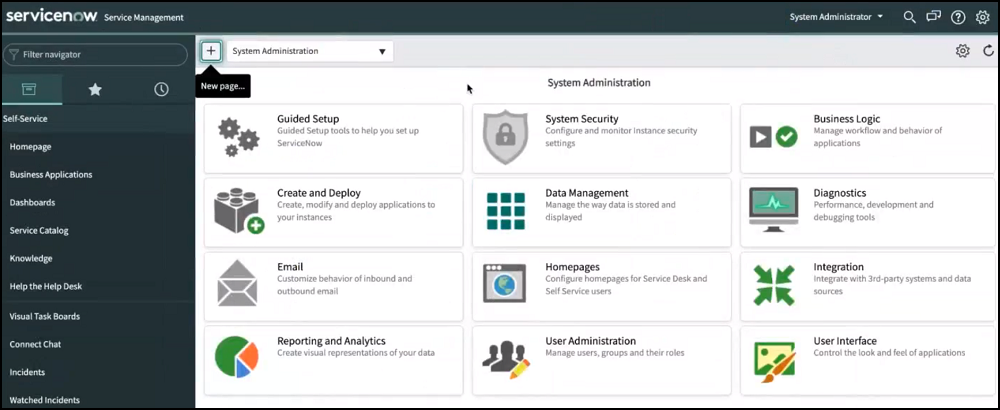
For example, RUCKUS AI communicates with ticketing applications in ServiceNow and Salesforce (SFDC) via webhooks. Through webhooks, the incidents generated in RUCKUS AI appear in the ServiceNow and Salesforce applications, in real-time. Following is a work-flow to configure Webhooks for ServiceNow and SFDC applications.
- On the menu, select .
- Click the Webhooks sub-tab.
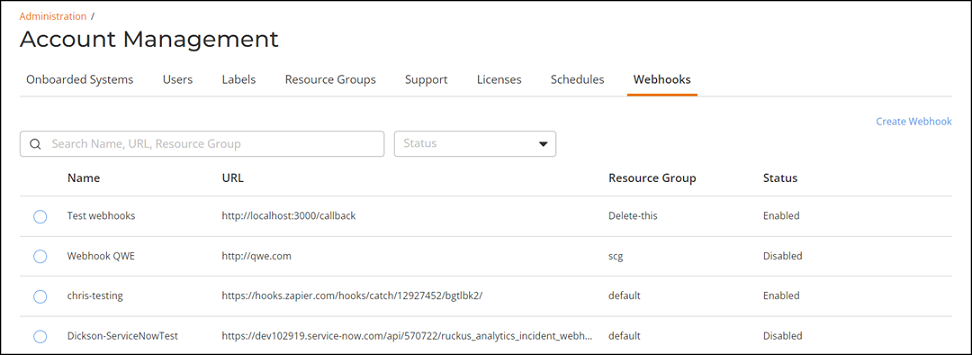
The Webhooks page displays the count of Total Webhooks and all the created webhooks are displayed in the webhooks table.
- Status: Displays green color if webhook URL is enabled or grey color if it is disabled.
- Name: Displays the name of the webhook.
- URL: Displays the webhook URL created by appending the domain URL and the base API path from the other application.
- Resource Group: Displays the associated resource group.
Under each attribute is a search field to limit the webhooks list based on the search criteria.
Click the  icon
to edit the webhooks information. Click the
  icon
to delete the webhooks.
You can select the number of webhooks displayed in the table from the Show rows drop down at the bottom of the table. The range is from five webhooks per table to 100 webhooks per table.
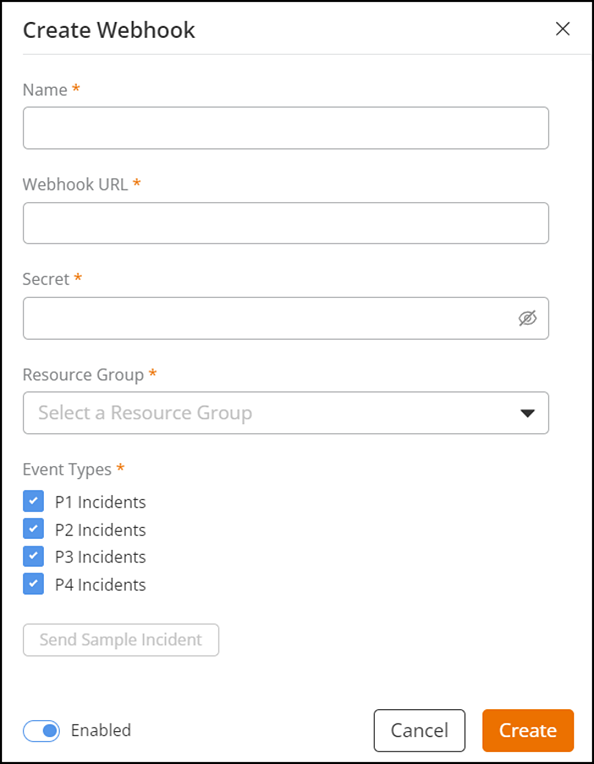
To create a webhook and integrate it with ServiceNow, refer to Integrating RUCKUS AI Incident Webhook with ServiceNow Application
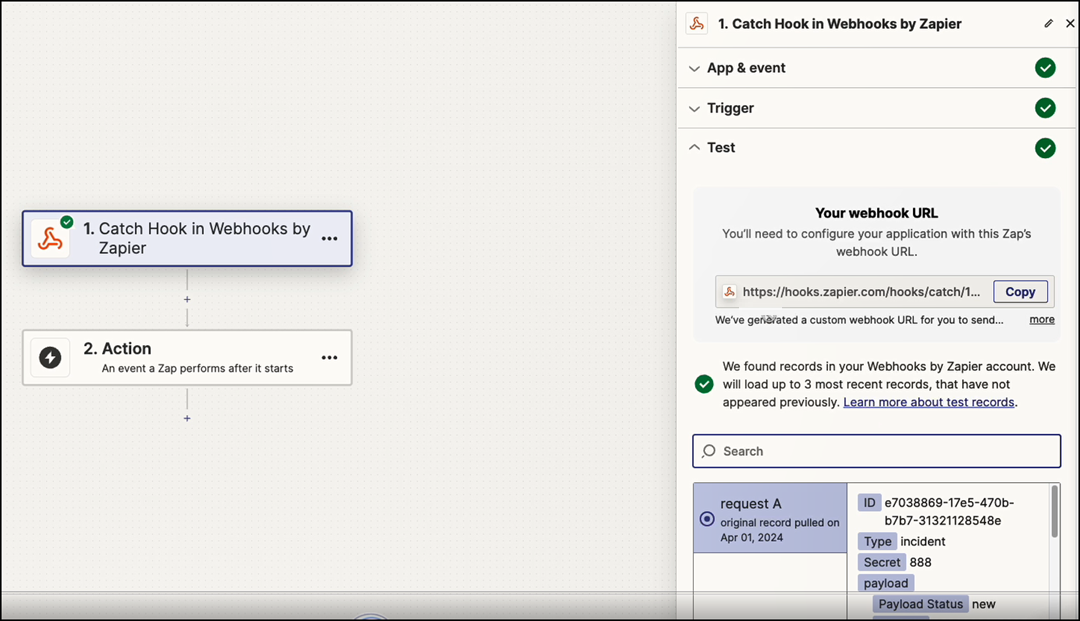
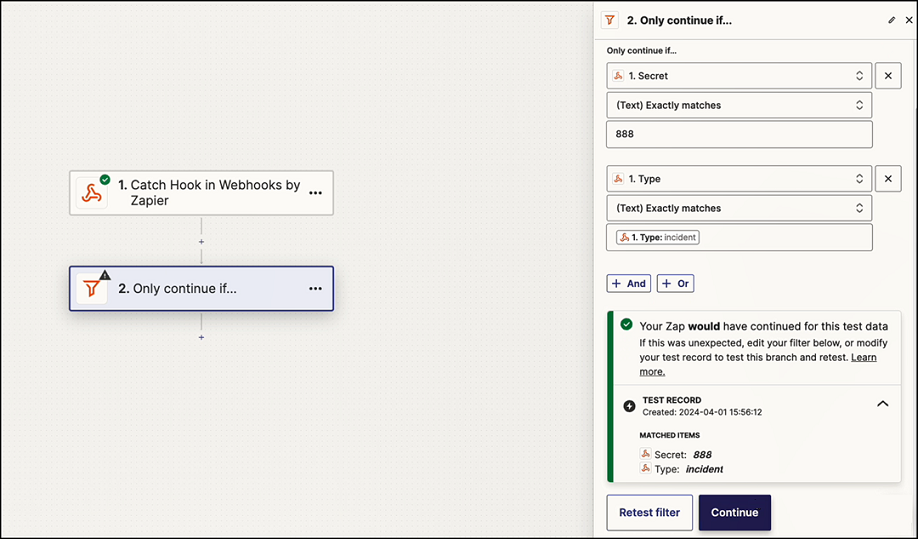
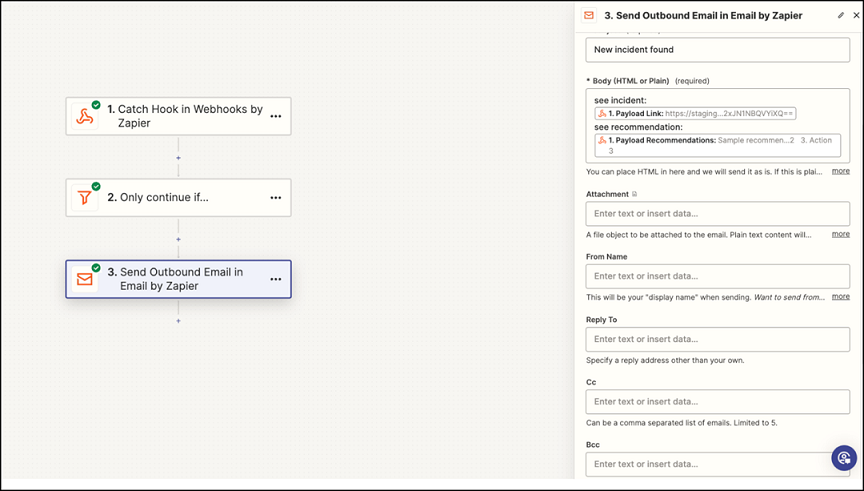
To create a webhook and integrate it with your email, refer to Creating Email Notification for RUCKUS AI Incidents using Zapier Application.
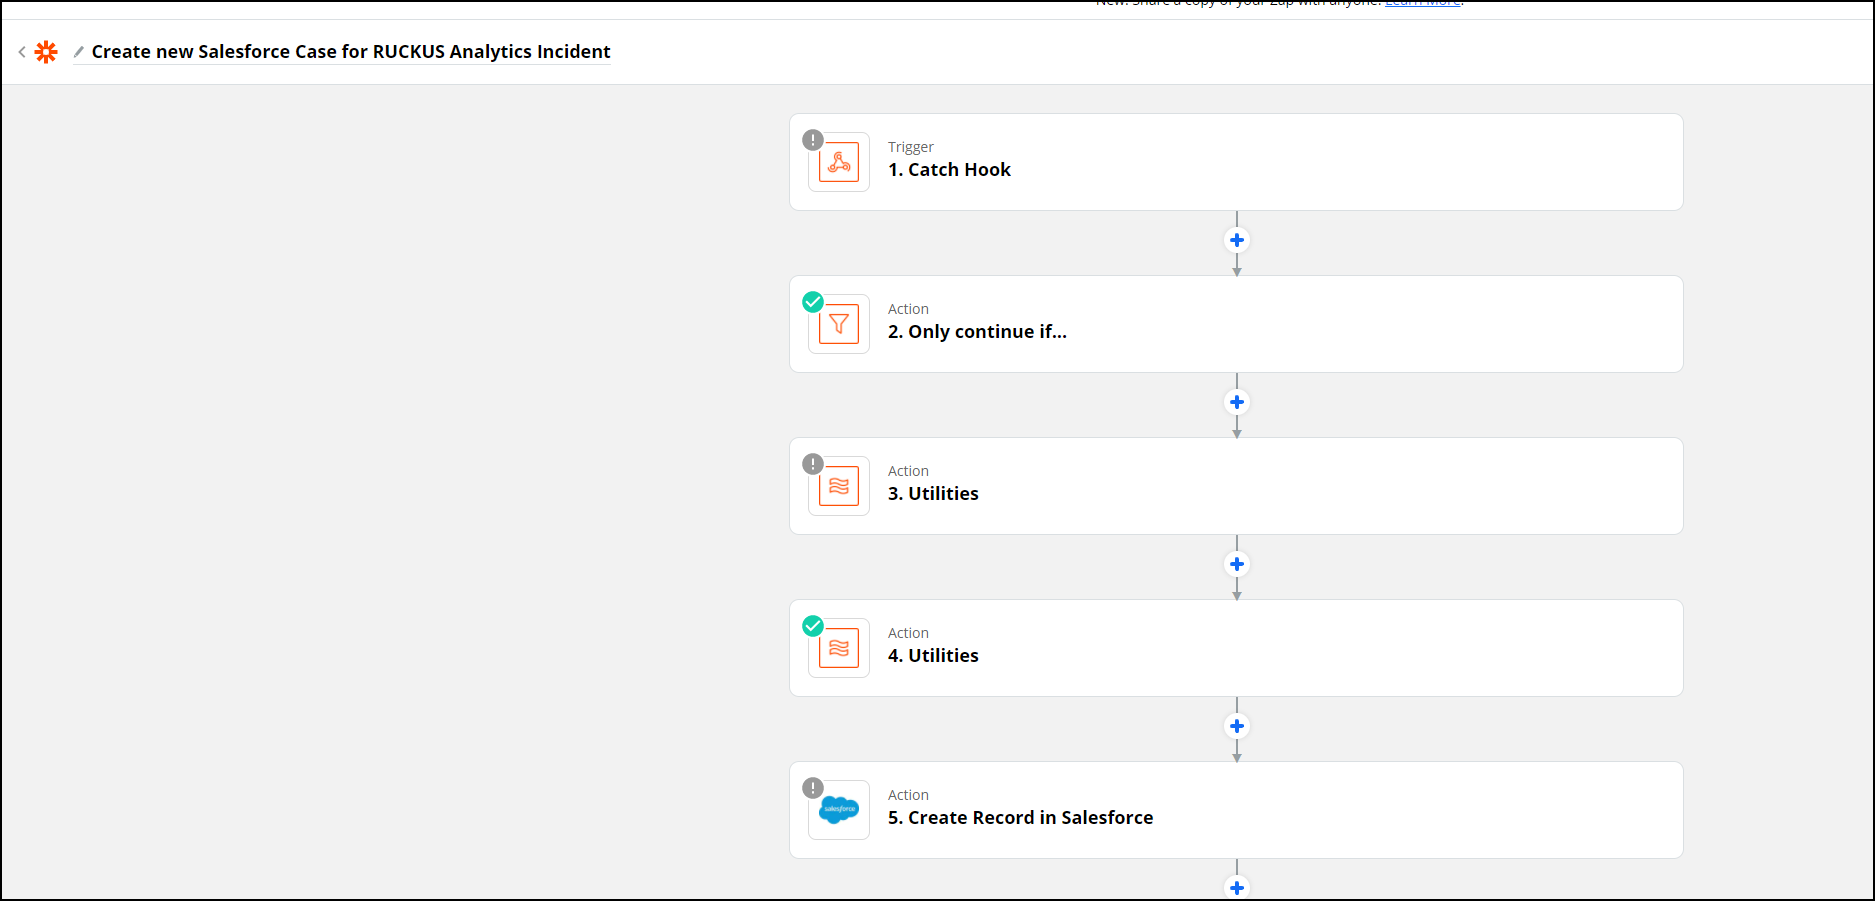
To create a webhook and integrate it with Zapier, refer to Create a New Salesforce Case for RUCKUS AI Incident using Zapier Application.
To update a webhook that is integrated with Zapier, refer to Updating an Existing Salesforce Case for RUCKUS AI Incident using Zapier Application.
Integrating RUCKUS AI Incident Webhook with ServiceNow Application
Creating Email Notification for RUCKUS AI Incidents using Zapier Application
Complete the following steps to set up the automation to trigger email notification for RUCKUS AI incidents using Zapier:
Create a New Salesforce Case for RUCKUS AI Incident using Zapier Application
Updating an Existing Salesforce Case for RUCKUS AI Incident using Zapier Application
- Setup incident update by clicking https://zapier.com/shared/6bb3dc515e23d86796c3c70bfcc4121f0d41ae59.
- Repeat Step 2 to Step 25 from the Create a New Salesforce Case for RUCKUS AI Incident using Zapier Application section.
