Adding an MSP End Customer
After setting up a customer's portal, you can add your customers.
- From the MSP Dashboard, select the Customers tab.
-
Click Add Customer.
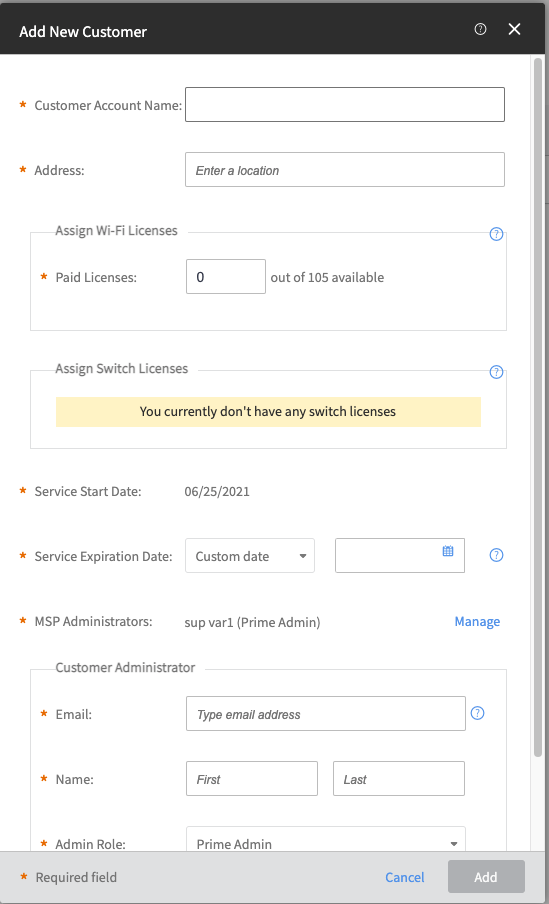
The Add New Customer dialog box appears.
Add New Customer 
- Enter the name of the customer in the Customer Account Name field.
- Enter the customer address in the Address field.
- Enter the number of Wi-Fi paid licenses you want to assign to the customer in the Assign Wi-Fi Licenses field.
- Enter the number of switch licenses you want to assign in the Assign Switch Licenses field.
- By default, the current date is selected as the Service Start Date.
- Select a Sevice Expiration Date from the calendar. The service expiration date is not the same as license expiration date for CLD-xx licenses. This is the date up to which the MSP is extending service to their end customer.
- Select an MSP Administrator. Click Manage and choose an appropriate option.
- In the Customer Administrator section, fill in the Email and Name fields and choose an Admin Role.
-
Click Choose correspodning to Integrator
to select an integrator.
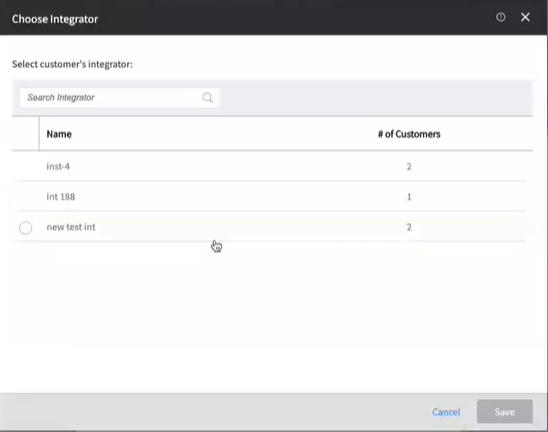
The Choose Integrator dialog box appears. You can view the list of existing Integrators.
Choose Integrator 
-
Choose an Integrator and then click Save.
When you chose an Integrator for the customer, the Choose button is replaced by the Change button. Click Change to change the Integrator.
-
Click Choose correspodning to Installer
to select an installer.
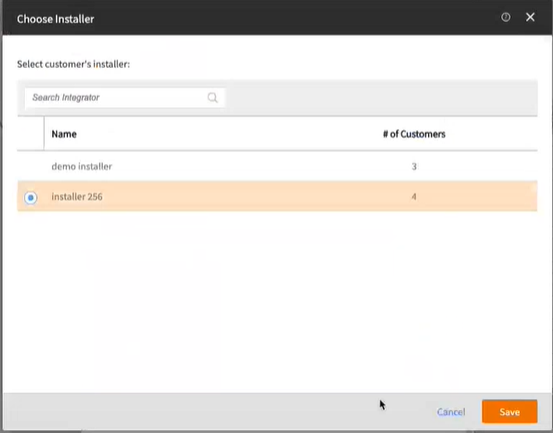
The Choose Installer dialog box appears. You can view the list of existing Integrators.
Choose Installer 
-
Choose an Installer and then click Save.
When you chose an Installer for the customer, the Choose button is replaced by the Change button. Click Change to change the Installer.
- (Optional) In the Customer Administrator section, enter the email address in the Email field.
-
Click Add.
An MSP administrator can select a customer by clicking on its name and navigate to the customer's dashboard.