After setting up a customer's portal, you
can add your customers.
To add an end customer, perform the following
steps.
From the MSP
Dashboard, select the Customers tab.
Click Add Customer.
The Add New
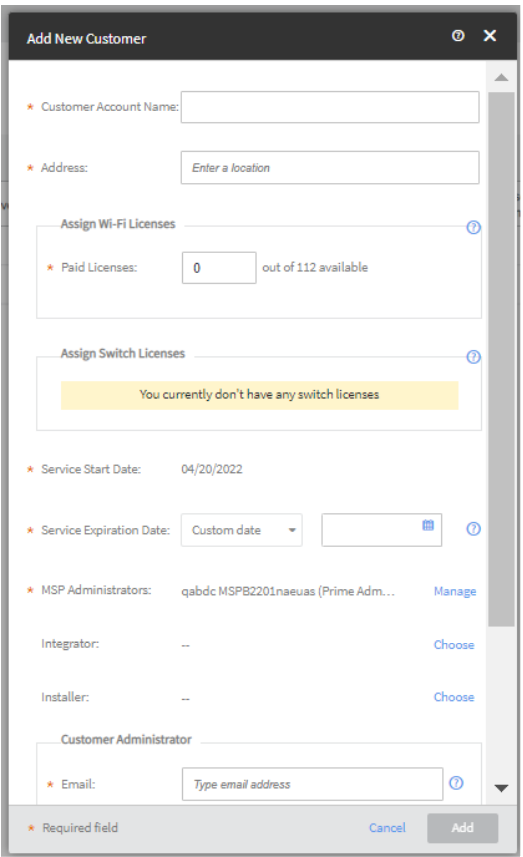
Customer dialog box appears. Add New
Customer
Enter the name of the customer in the Customer Account
Name field.
Enter the customer address in the Address field.
Enter the number of Wi-Fi paid licenses you want to assign to the customer in
the Assign
Wi-Fi Licenses field.
Enter the number of switch licenses you want to assign in the Assign Switch
Licenses field.
By default, the current date is selected as the Service Start
Date.
Select a Sevice Expiration Date from the calendar. The service expiration
date is not the same as license expiration date for CLD-xx licenses. This is the
date up to which the MSP is extending service to their end customer.
Select an MSP Administrator. Click Manage and choose
an appropriate option.
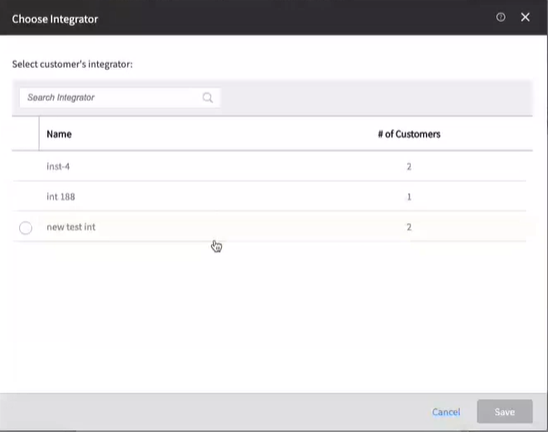
Click Choose correspodning to Integrator
to select an integrator.
The Choose Integrator dialog box appears. You can view
the list of existing Integrators. Choose Integrator
Choose an Integrator and then click Save.
When you chose an Integrator for the customer, the
Choose button is replaced by the
Change button. Click Change to
change the Integrator.
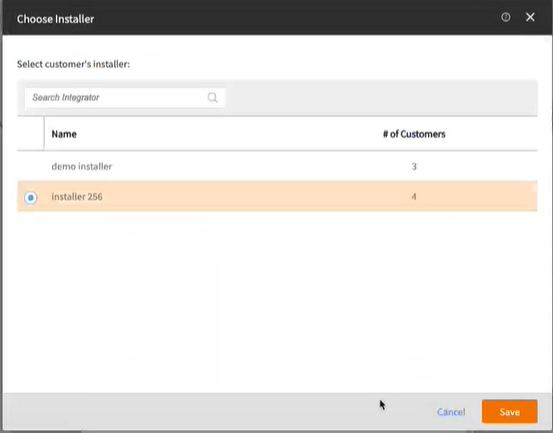
Click Choose correspodning to Installer
to select an installer.
The Choose Installer dialog box appears. You can view
the list of existing Integrators. Choose Installer
Choose an Installer and then click Save.
When you chose an Installer for the customer, the
Choose button is replaced by the
Change button. Click Change to
change the Installer.
In the Customer
Administrator section, enter the email address in the
Email field.
Click Add.
An MSP administrator can select a customer by clicking on its name and
navigate to the customer's dashboard.