Viewing the AP Group Details
From the AP Group List page, you can view detailed information about APs associated with an AP group, networks that are active on an AP group. AP groups allows you to map APs in a venue to different groups. The new AP group table provides easy access to information such as incidents and connected clients. The user can also configure VLANs and select WLANs to broadcast at the AP group level.
-
On the navigation bar, click
.
The Access Point page is displayed. By default, the AP Group List tab is selected.
Viewing AP Group Table 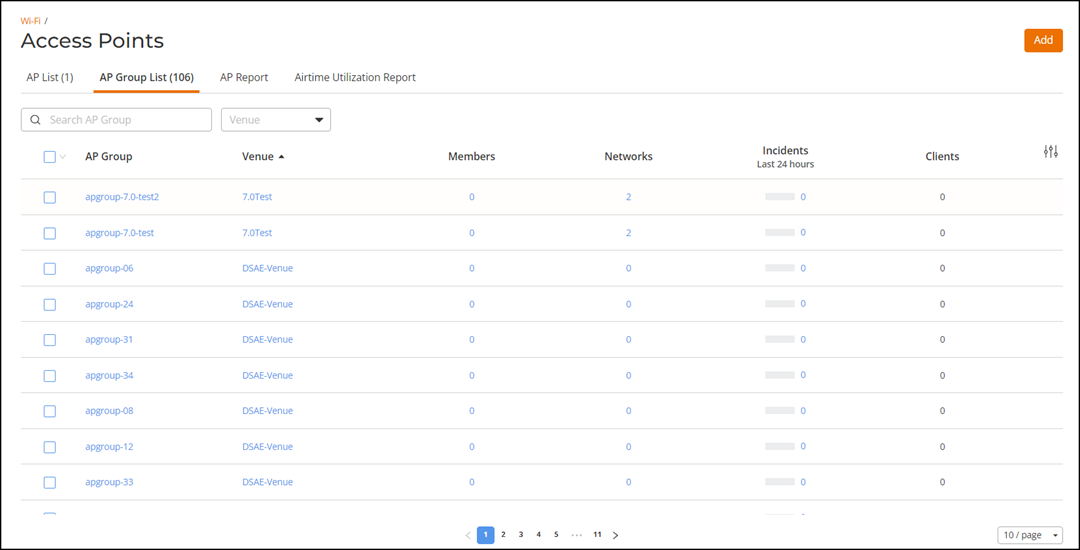
- AP Group: Displays the name of the AP group.
- Venue: Displays the name of the venue to which the AP group was added.
- Members: Displays the number of APs that are associated with the AP group. Members are displayed on hover.
- Networks: Displays the number of the networks. Networks are displayed on hover.
- Incidents: Displays the number of incidents that have occurred.
- Clients: Displays the number of clients that are connected to the AP group.
- Date of Traffic: Displays the date of the traffic in the last 24 hours.
- # of Reboots: Displays the number of times the AP reboots.
-
Select the Network tab to view the network details.
The Network page displays the following information. Each column within the table can be sorted. You can filter the network list by selecting a network type from the Type field, and by the status of the network (Activated or Deactivated). You can also search for the network by its name.
Viewing AP Group: Network Tab 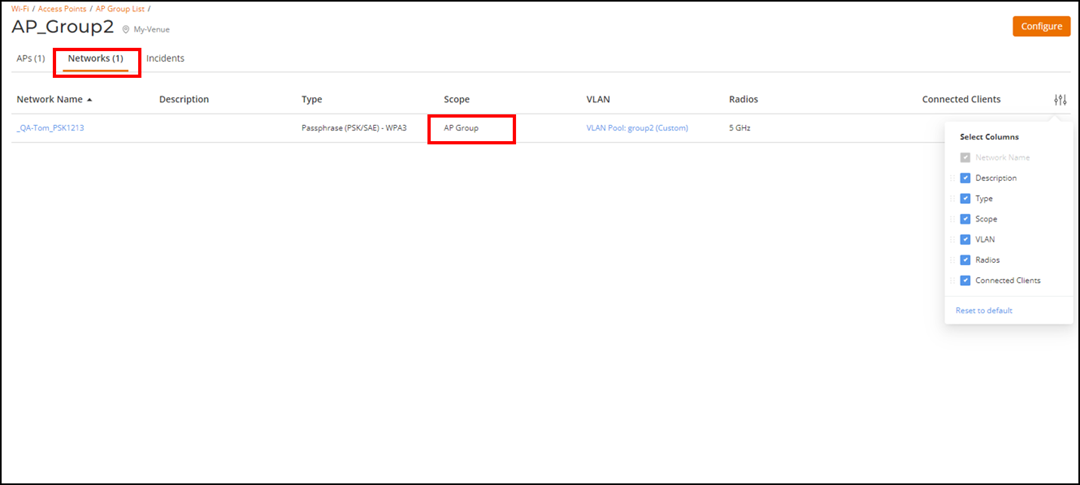
- Network Name: Displays the name of the network.
- Description: Displays the description about the network.
- Type: Displays the type of network.
- Activated: Displays the status of the network. This functionality is supported only at the AP group level and not at the venue level.
- Scope: Displays the Venue—networks that broadcast on all APs and the AP Group—networks that broadcast on specific target.
- VLAN: Displays the name of the VLAN pool name or VLAN ID.
- Radios: Displays the configured radio band.
- Clients: Displays the number of connected clients.
You can edit the VLAN and radio setting by selecting a Network Name and clicking Edit VLAN & Radio. The Edit VLAN & Radio sidebar is displayed.
-
Select the Incident tab to view details about the
incidents.
The Incident page displays the following information:
AP Group Incident Tab  The Incidents page has the following components:
- Severity
- Incident Timeline
- Incidents Table
For more information, refer to Incidents Page.