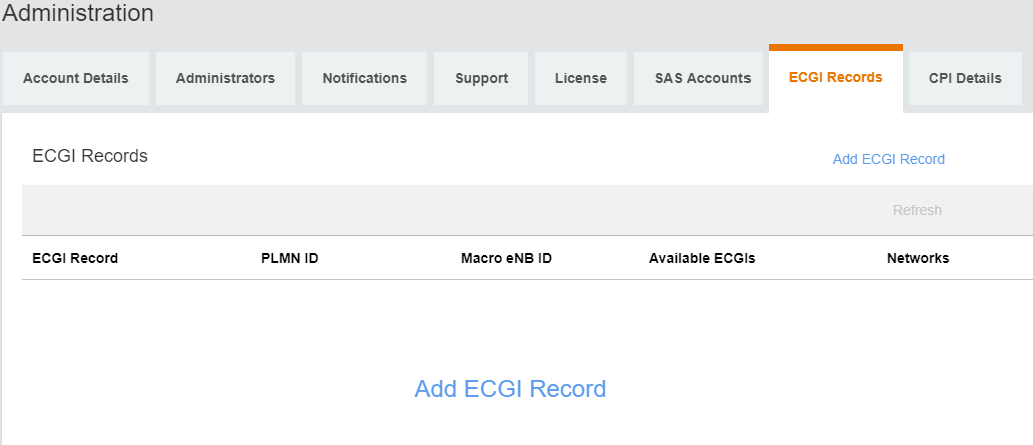
Adding ECGI Records
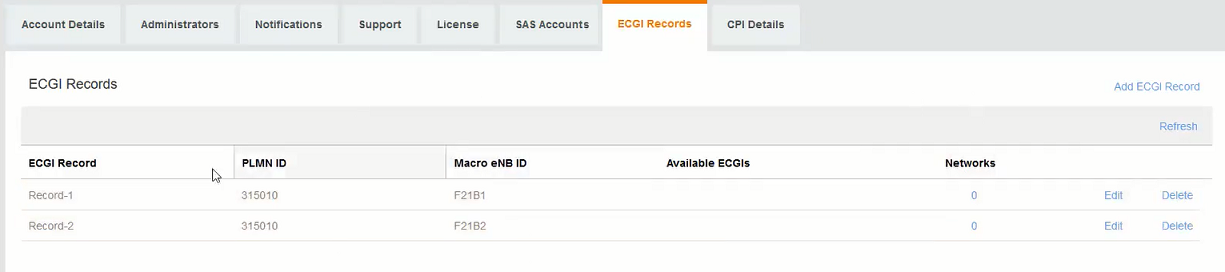
In order to create networks with CBRS-A designated Shared HNI (PLMN ID) value of 315-010, tenants must add ECGI Records under the Administration Tab. An ECGI Record is unique per PLMN ID + Macro eNB ID combination.
If you desire to create an LTE Network with CBRS-A designated Shared HNI (PLMN ID) value of 315-010, you must obtain your own/ range of Macro eNB ID from CBRS Alliance. For more information,
visit: http://imsiadmin.comand http://atis.org/ioc .Creating ECGI records is basically defining and allocating a range of ECGI values. Then when you associate such records with a network, all APs within venues, designated with such a Network, obtain their ECGIs from these records until the record is depleted. When this happens, to add more APs to the Venue, you must add more ECGIs by defining additional ECGI records.
If you want to create an LTE Network with any other PLMN ID, you have a choice of configuring the Macro eNB ID and thereby creating ECGI records or skipping this step and allowing the AP management to create unique ECGIs for connected APs.
To add ECGI records, follow these steps.
- Click
Add ECGI Record.
The Add ECGI Record dialog box appears.
- Click
Save to save the ECGI record.
A status message appears displaying Creating ECGI Records.
You can view the details of available of ECGI records under ECGI Records.
For information on how to add an LTE Network, refer to Creating an LTE Network.