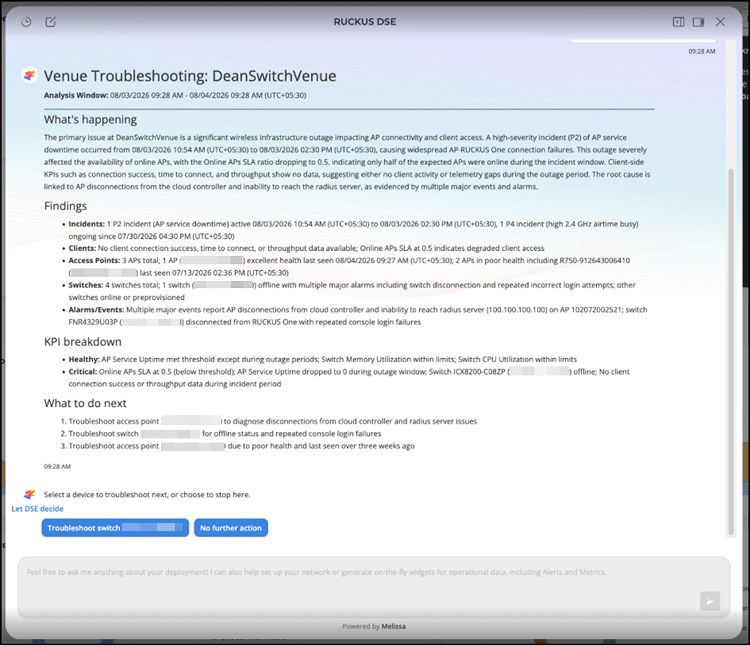
Troubleshooting a Venue Using RUCKUS DSE
You can use the RUCKUS DSE (Digital System Engineer) Venue Troubleshooting Sub-agent to troubleshoot venue-related issues through the DSE chat interface.
-
On the RUCKUS One web
interface, click the Ask DSE button in the UI
header.
The RUCKUS DSE assistant opens in a sidebar on the right side of the page. You can click the
 icon to display the assistant in a floating pop-up window.
RUCKUS DSE 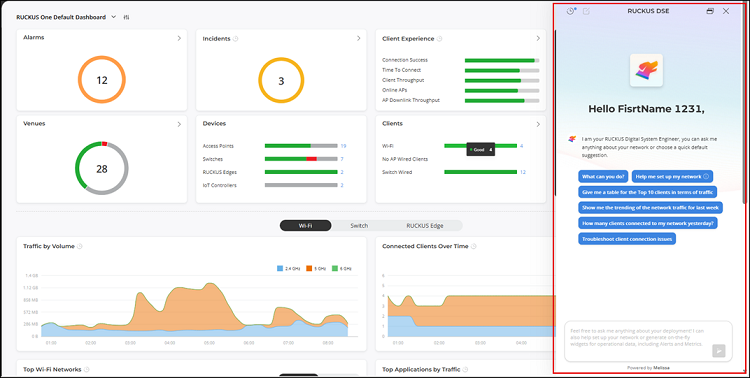
-
Review the troubleshooting
report.
The report can contain the following sections:
- What's happening: Summarizes the venue status during the analysis window.
- Findings: Lists observations related to incidents, clients, access points, switches, alarms, events, and other detected issues.
- KPI breakdown: Displays KPI status information, including Healthy, Critical, and No Data categories.
- What to do next: Recommends additional investigation or troubleshooting actions.
If DSE does not identify any issues during the analysis window, the report indicates that no issues were detected.
Venue Troubleshooting Analysis Window 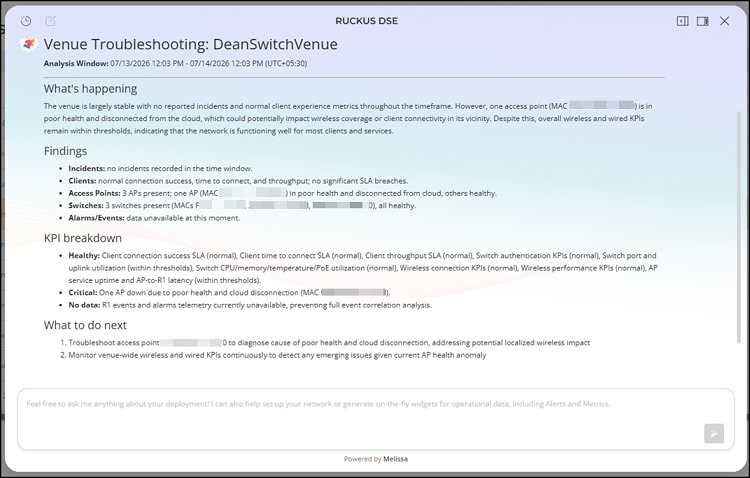
-
Select a follow-up
troubleshooting option if displayed.
Note: If no follow-up troubleshooting options are displayed, review the recommendations in the What to do next section and perform the suggested actions.
- To end the troubleshooting workflow without additional analysis, click No further action.
- To continue
troubleshooting, select the displayed troubleshooting option.
Venue Troubleshooting Drilldown Report