Customizing Smart Monitor Settings Per AP
You can customize the Smart Monitor settings at the AP level.
-
On the navigation bar, click
Wi-Fi > Access
Points > AP
List.
The AP List page is displayed.
-
Click the name of the AP for
which you want to customize the Smart Monitor settings, then on the
Overview page, click Configure.
Alternatively, click the check box for the specific AP name, then click
Edit.
The AP configuration page is displayed, defaulting to the General tab view.
-
Select the Networking tab.
By default, the IP Settings section is displayed.
-
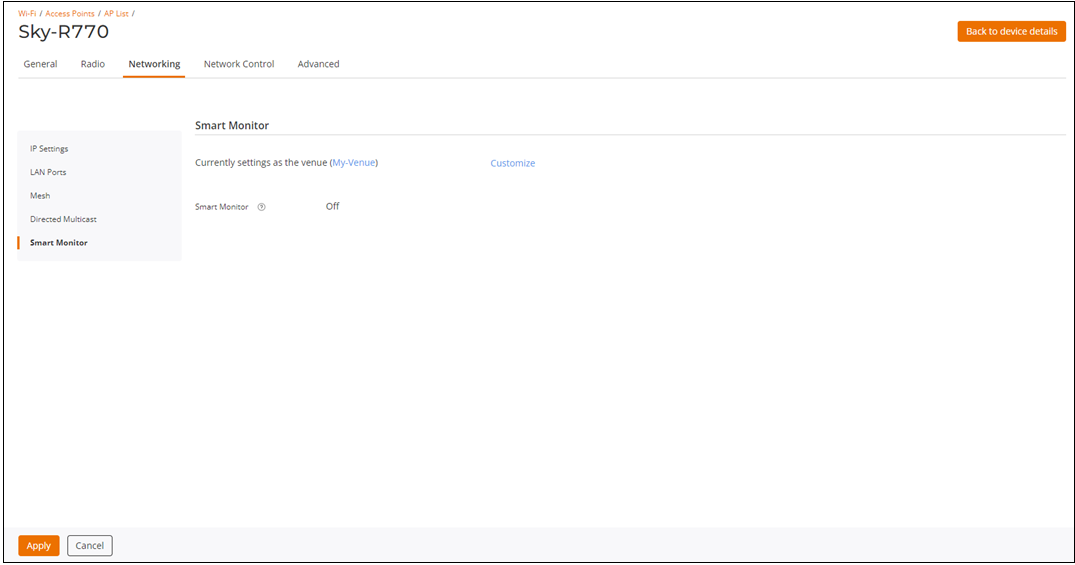
From the left mini navigation
bar, click the Smart
Monitor sub-tab.
Configuring Smart Monitor Settings on an AP 
Before Smart Monitor is configured at the AP level, an AP uses the Smart Monitor configuration set at the venue level.
-
Click Customize to
override the venue-level settings.
The section refreshes and Smart Monitor becomes an interactive field. By default, Smart Monitor is set to OFF.
-
Toggle the Smart Monitor
switch to ON and configure the following values:
- Heartbeat Interval defaults to 10 seconds. Enter a new timeout interval or use the arrows to select the new timeout interval in which heartbeat messages are sent. Valid values are from 5 through 60 seconds.
- Max Retries defaults to 3 retries. Enter a new value or use the arrows to select the new value for maximum number of retries before the gateway is considered unreachable. Valid values are 1 through 10.
- Click Apply.