You can view information about the
Integrator and Installer accounts that are assigned to your end customers.
Complete the following steps to view the list of
Integrator accounts and Installer accounts.
On the navigation bar, click
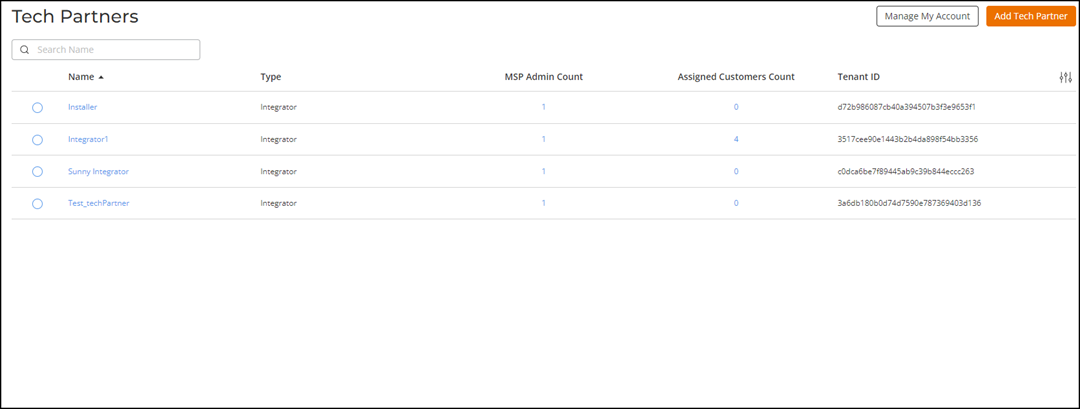
Tech Partners.
The Tech
Partners page is displayed.Tech Partners The Tech Partners page displays the following
information:
Name: Displays the name of the tech partner.
Type: Displays the type of account, either
integrator or installer.
MSP Admin
Count: Displays the total number of MSP administrators
and associated privilege groups.
Assigned
Customers Count: Displays the number of assigned
customers.
Account Admin
Count: Displays the total number of administrators for
this integrator or installer account.
Tenant
ID: Displays the unique ID of the tenant.
You can use the Search
option to display only the table entries matching the name; enter a minimum
of two characters. You can customize which fields appear in the table by
clicking the icon and selecting or deselecting the desired
column names. Optionally, you can click Reset to
default to restore the default subset of columns.
Click the count below the
Assigned Customers Count column.
A Manage Assigned
Customers sidebar is displayed with the following information:
Access Period: Shows whether access is
limited or not.
Search Customer, Tags: Provides a search box to filter
customer accounts by name or tags.
Selectable Customer List: Displays all customer accounts with
checkboxes to assign or unassign them.
Customer: Displays the customer account
name or ID.
Status: Displays whether the customer
account is Active or Not Active.
Tags: Displays any tags associated with the
customer.
Address: Shows the customer’s
address.
Devices / Subscriptions: Displays the
number of devices or subscriptions associated with that
customer.Manage
Assigned Customers
Select one or more end customers and assign them to the current Tech
Partner.
Click Save.
Click the count below the Assigned Admin Count
column.
The Manage MSP Delegations sidebar is displayed.
In the Users tab, select the checkbox in the Name
column for one or more MSP administrators, and then choose a system role
from the Role drop-down list. The options are Prime Admin (full access
for configuration, monitoring, and administration), Administrator
(tenant and delegated tenant management, if permitted by the Prime
Admin), Guest Manager (guest account management), and Read-Only
(view-only access without configuration rights).
In the Privilege Groups tab, select the checkbox
next to one or more MSP Privilege Groups to assign the appropriate
custom roles.
 icon and selecting or deselecting the desired
column names. Optionally, you can click Reset to
default to restore the default subset of columns.
icon and selecting or deselecting the desired
column names. Optionally, you can click Reset to
default to restore the default subset of columns.