Configuring Email Notifications
You can configure email notifications as a Managed Service Provider (MSP) to control how notification messages related to your networks, devices, and tenant activities are delivered. The email notification configuration determines which event types generate email alerts and which recipients receive them. You can also configure incident‑based and IntentAI‑based notification categories, including severity levels, descriptions, and AI‑driven event updates. This configuration allows you to customize the visibility and delivery of system notifications for all recipients associated with the MSP account.
-
Click Notification Preference to configure the email
notification options.
The Notification Preferences sidebar is displayed.
Notifications - Notification Preferences 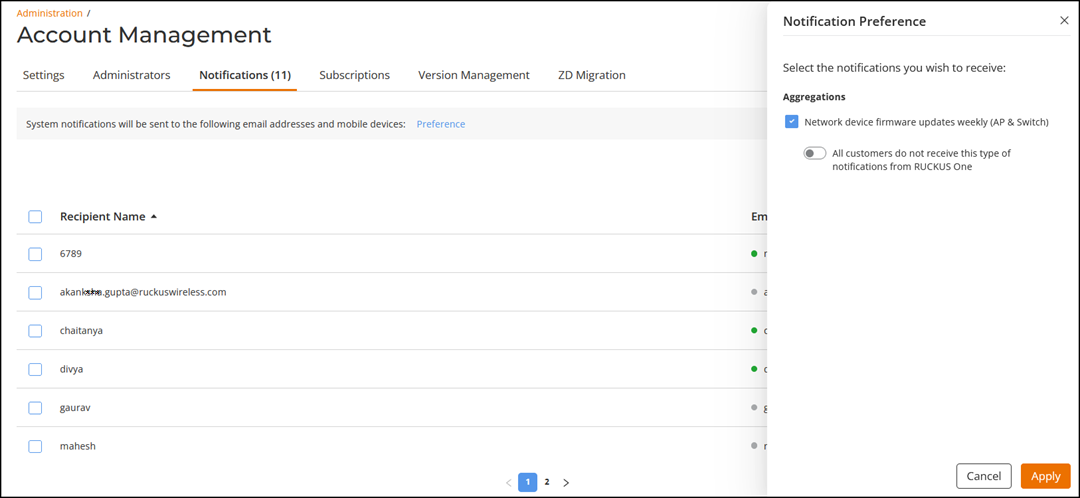
-
Configure the notification options as needed:
Note: This configuration applies to all recipients defined for this account.
- Notification Type: Select the checkboxes for the
following items to enable notifications:
- AP Firmware
- Switch Firmware
- RUCKUS Edge Firmware
- API Changes
- License Expiration
- MSP Customer Service Notification
- Incident and IntentAI:
- Incident by Severity: Select the required severity levels (P1, P2, P3, P4) by selecting the Email checkboxes.
- Incident by Description: Select the
required incident categories (Connection, Performance,
Infrastructure, Security) by selecting the
Email checkboxes. You can expand each
description using the
 icon to view sub-items and select
the required sub-items in each category.
icon to view sub-items and select
the required sub-items in each category. - IntentAI: Select Intent status change by selecting the Email checkbox. The AI features, including AI‑Driven RRM and all AIOps recommendations, are available under IntentAI.
- Click Apply.
- Notification Type: Select the checkboxes for the
following items to enable notifications: