Placing a Networking Device on a Floor Plan
You use the floor plan placement map to visualize device locations within a venue and control how networking devices are positioned for accurate spatial reference.
-
Click the Floor Plans
tab.
The Floor Plan is displayed. If the floor plan is not available, add one. Refer to Importing a Floor Plan for more details.
Floor Plans 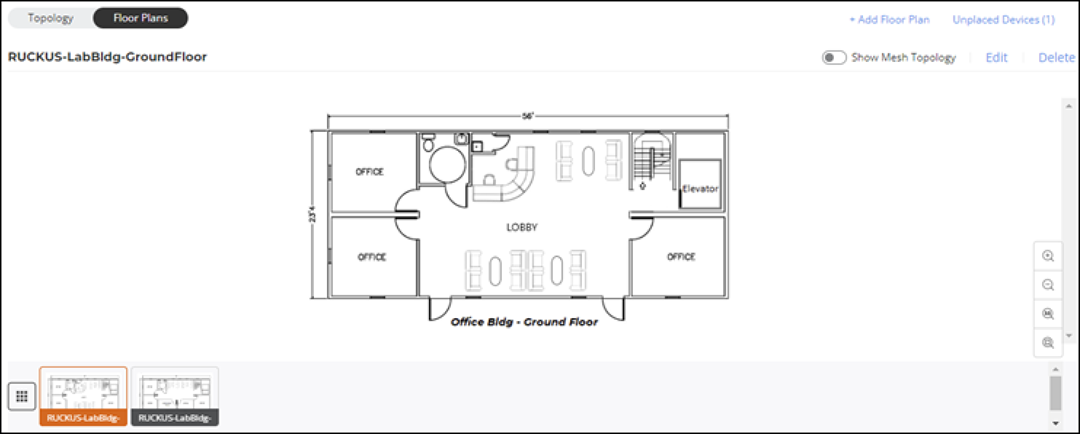 Note:
Note:-
- Use the zoom icons to adjust the image size, if necessary. Adjusting the image helps you place devices accurately.
- If the venue has more than one floor plan, select the applicable floor plan by selecting the corresponding image tile.
-
-
Click Unplaced
Devices.
A list of available networking devices is displayed.You can use the Search option to display only the table entries matching the specified networking device; enter a minimum of two characters. Additionally, you can filter the list of devices by selecting one of the options from the drop-down menu. The options are All, Wi-Fi APs, Switches, Cloudpath Servers, and RWGs.
Searching and Filtering Unplaced Devices 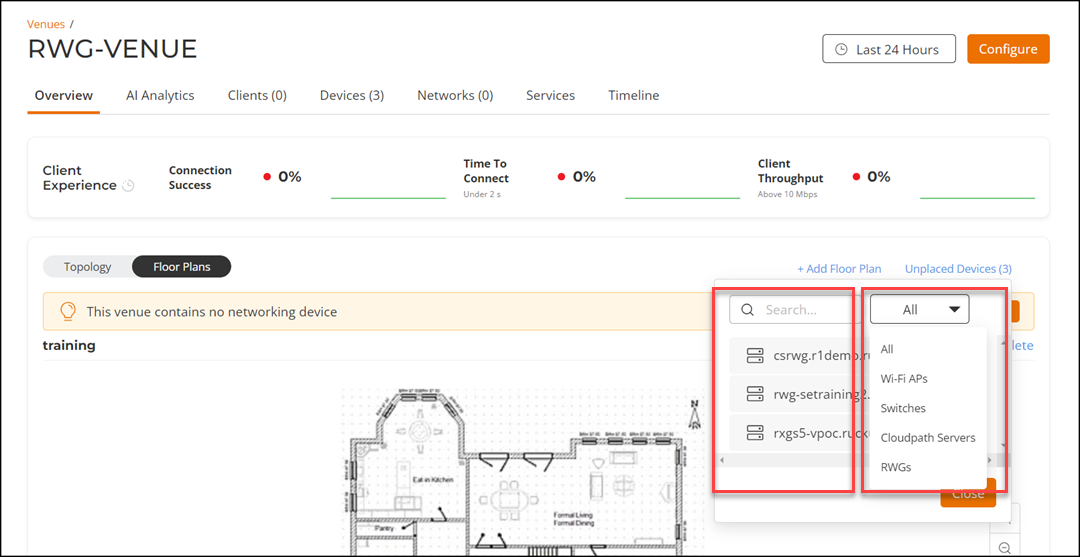
-
(Optional) Hover over the device
icon and click it to view device details.
AP Details 