Creating a Rogue AP Detection Policy
You can use a Rogue AP Detection policy to define classification rules that determine how detected access points are evaluated and labeled across selected venues. When applied, the policy controls rogue AP detection behavior at the venue level by activating a single classification profile per venue.
Note: Only one
Rogue AP Detection policy can be active at a venue at any time. Activating a policy
automatically enables Rogue AP Detection for the selected venue if it is currently
disabled.
Complete the following steps to create and apply a Rogue AP
Detection policy.-
Find the Rogue AP
Detection tile and click Add.
The Add Rogue AP Detection page is displayed.
Add Rogue AP Detection Policy 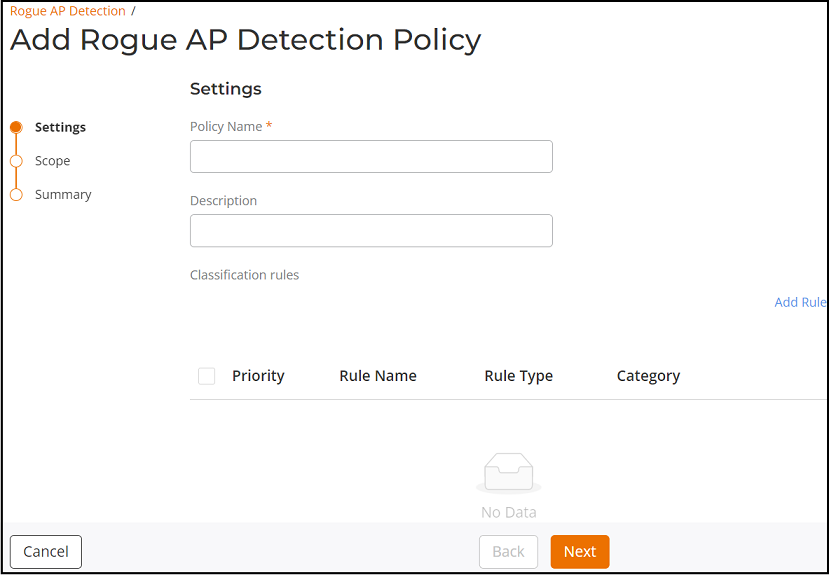
-
Click Add Rule in the Classification
rules section.
The Add Classification Rule sidebar is displayed.
Add Classification Rule 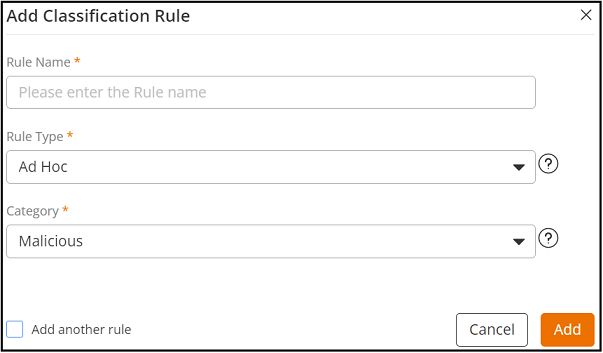
-
Configure the classification rule:
- Enter a Rule Name.
- Select a Rule Type from the following options: Ad Hoc, CTS Abuse, Deauth Flood, Disassoc Flood, Excessive Power, Low SNR, MAC OUI, MAC Spoofing, Null SSID, RTS Abuse, Same Network, SSID, or SSID Spoofing.
- Select a Category. The options are Ignored, Known, Unclassified, or Malicious.
- (Optional) Select Add another rule to create additional classification rules.
- Click Add to add the rule to the Classification rules table.
- To manage Classification rules, select a rule by selecting the check box alongside the Priority column, and click Edit or Delete.
-
To reorder the priority
of rules, drag and drop the specific rule up or down using the
 icon on the far right side of the
table.
icon on the far right side of the
table.