Adding MAC Registration Lists

You can add MAC registration lists to authenticate the devices based on MAC address. You can configure the expiration for the entries as: Never expire, By date, and After, and also configure to automatically clean the expired entries.

Complete the following steps to add MAC registration lists.
  1. In the navigation bar, click Network Control > Policies & Profiles.
    The Policies & Profiles page is displayed.
  2. In the Policies & Profiles page, click the MAC Registration List tile and click Add MAC Registration List. Alternatively, in the Policies & Profiles page, click Add Policy or Profile then select the MAC Registration List tile, and click Next.
    The Add MAC Registration List page is displayed.
    Note:
    • If a MAC registration list exists without an associated identity group, the system will automatically create one. When devices connect, corresponding identities will be automatically created within that group.
    • While creating a MAC registration list, you must select an identity group that will own this MAC address.
    Adding MAC Registration List
  3. Enter MAC registration list name.
  4. For List Expiration, choose one from the following options.
    • Never expires
    • By date: Select an expiration date
    • After: Select a time interval (in Hours, Days, Weeks, Months, or Years.
  5. (Optional) Click the Automatically clean expired entries toggle to disable this option (which is enabled by default).
  6. For Identity Group, select an existing Identity Group from the drop-down or click Add to add an Identity Group. For more information on how to add an Identity Group, refer to Adding an Identity Group.
  7. (Optional) Toggle the Use Single Identity for all connections button to configure a single identity for all connections.
  8. (Optional) Under Adaptive Policy Set, select an adaptive policy set from the list, click Add to configure and add a new adaptive policy set, or you can add MAC addresses after you create the MAC Registration List.
  9. Click Apply to save the changes.
    The newly created MAC registration lists is displayed in the table.
  10. Click created <MAC Registration List name> on the Name column.
    The <MAC Registration List name> details page is displayed.
    MAC Registration List Details
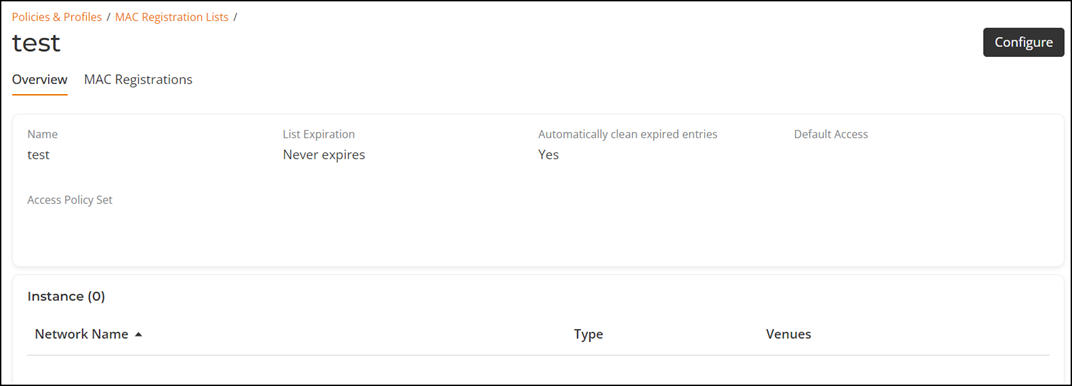
  11. Click MAC Registrations tab.
    The MAC Registrations page is displayed.
    MAC Registrations Window
  12. You can add new MAC addresses or import the MAC addresses to the created MAC Registration Lists.
    • Follow below steps to add new MAC address:
    1. Click Add MAC Address. The Add MAC Address dialog box is displayed.
      Add MAC Address Dialog Box
    2. Complete the following fields:
      • MAC Address: Enter the MAC address.
      • Username: Enter the username.
      • E-mail: Enter the e-mail ID.
      • MAC Address Expiration Date: Set the MAC address expiration duration as Never Expires or click By date and set an expiration date.
    3. Click Add.
    • Follow below steps to import MAC address:
    1. Click Import from File. The Import from File dialog box is displayed.
    2. Click Download template to download the template.
    3. Using a spreadsheet program, open the CSV file.
    4. Complete the following fields to add the MAC addresses:
      • MAC Address: Enter the MAC address.
      • Username: Enter the username.
      • E-mail: Enter the e-mail ID.
      • MAC Address Expiration Date: Enter an expiration date.
      • Device Name: This is optional, enter name of the device.
      • Location: This is optional, enter location of the device.
    5. Save the CSV file.
    6. In the Import from File dialog box, click Browse, and then locate the CSV file, and then click Open. Alternatively, drag and drop the CSV file to the gray box in the Import from File dialog box.
    7. Click Import.