Editing or Deleting the Rogue AP Detection Policy
You can edit or delete a Rogue AP Detection policy to modify or remove existing classification rules and venue assignments. Editing the policy updates rogue AP detection behavior for the associated venues, while deleting the policy removes it from the system.
-
In the My
Services page, click Rogue AP
Detection.
The Rogue AP Detection page is displayed.
Rogue AP Detection Page 
The page displays a list of configured Rogue AP Detection policies:
- Name: Displays the policy name as a hyperlink. Click the hyperlink to open the Service Details page.
- Description: Displays the policy description.
- Classification Rules: Displays the number of classification rules configured for the policy as a hyperlink. Click the hyperlink to view the Rogue AP Detection Policy Details: <name> sidebar.
- Venues: Displays the number of venues associated with the policy.
You can customize which fields appear in the Rogue AP Detection table by clicking the
 icon and selecting or deselecting the desired column names. Optionally,
you can click Reset to default to restore the default subset of
columns.
icon and selecting or deselecting the desired column names. Optionally,
you can click Reset to default to restore the default subset of
columns. -
(Optional) Click Edit to modify
the Rogue AP Detection configuration.
The Edit Rogue AP Detection page is displayed.
Edit Rogue AP Detection 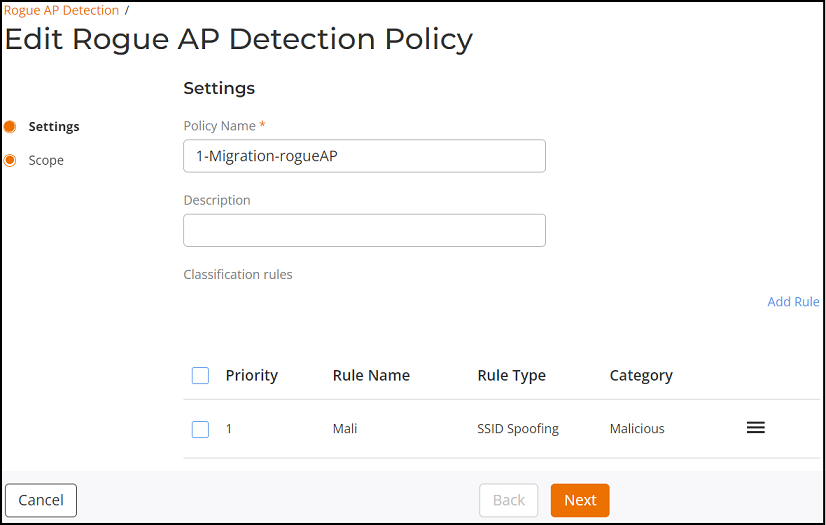
-
Update configuration
values as needed:
- Modify Policy Name or Description.
- Classification rules: Click Add
rule to create a classification rule.
- Select or update the Rule Type from the following options: Ad Hoc, CTS Abuse, Deauth Flood, Disassoc Flood, Excessive Power, Low SNR, MAC OUI, MAC Spoofing, Null SSID, RTS Abuse, Same Network, SSID, or SSID Spoofing.
- Select or update the Category from the following options: Ignored, Known, Unclassified, or Malicious.
- (Optional) Select Add another rule to create additional classification rules.
- Click Add to add the rule to the Classification rules table.
- To manage Classification rules, select a rule by selecting the check box alongside the Priority column, and click Edit or Delete.
- To
reorder the priority of rules, drag and drop the
specific rule up or down using the
 icon on the far right side
of the table.
icon on the far right side
of the table.
-
Update configuration
values as needed: